

Royal Icing (With Fresh Egg Whites)
This Royal icing is made with fresh egg whites and includes no fancy ingredients. Don’t worry about eating raw eggs, we will use an easy process to pasteurize them at home.
- Prep Time10 min
- Bake / Cook Time5 min
- Total Time15 min
Ingredients
- 100 g / 3.5 oz egg whites (~3 medium egg whites)
- 500 g / 17,6 oz icing sugar (divided)
- 1 tsp lemon juice
- 2 tsp vanilla extract
- Room temperature water to thin the icing
Directions
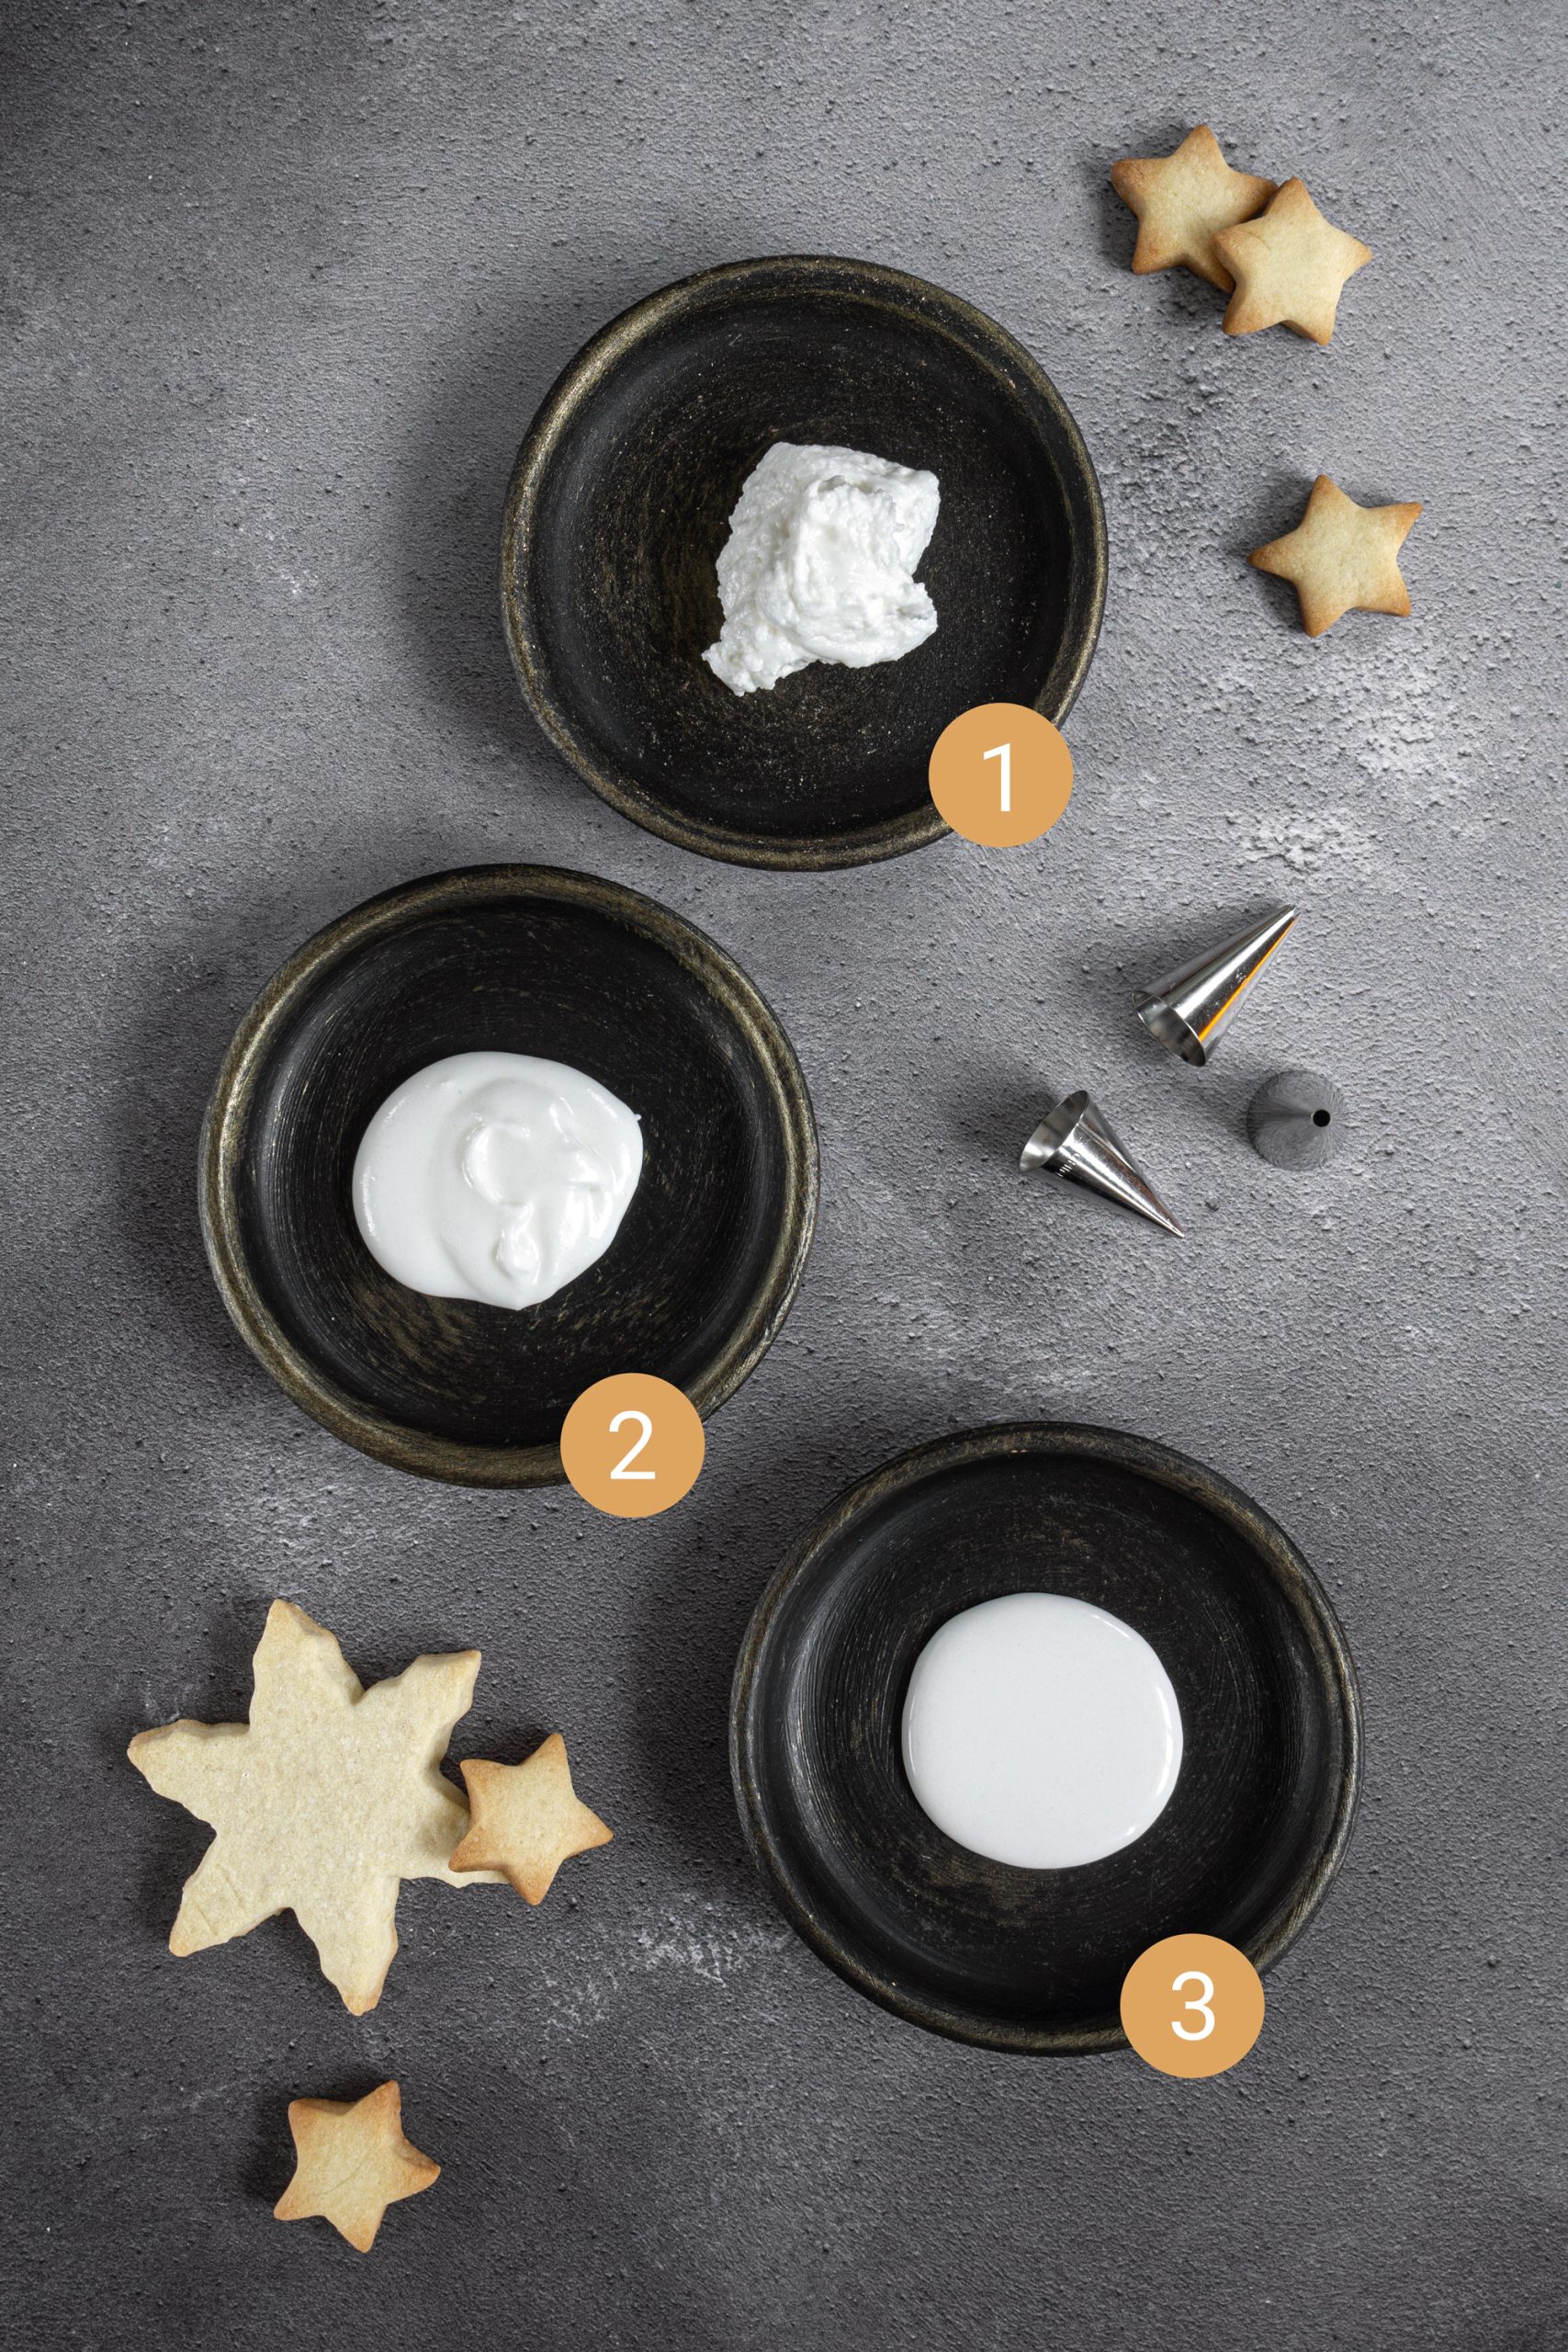
Prepare the stiff icing
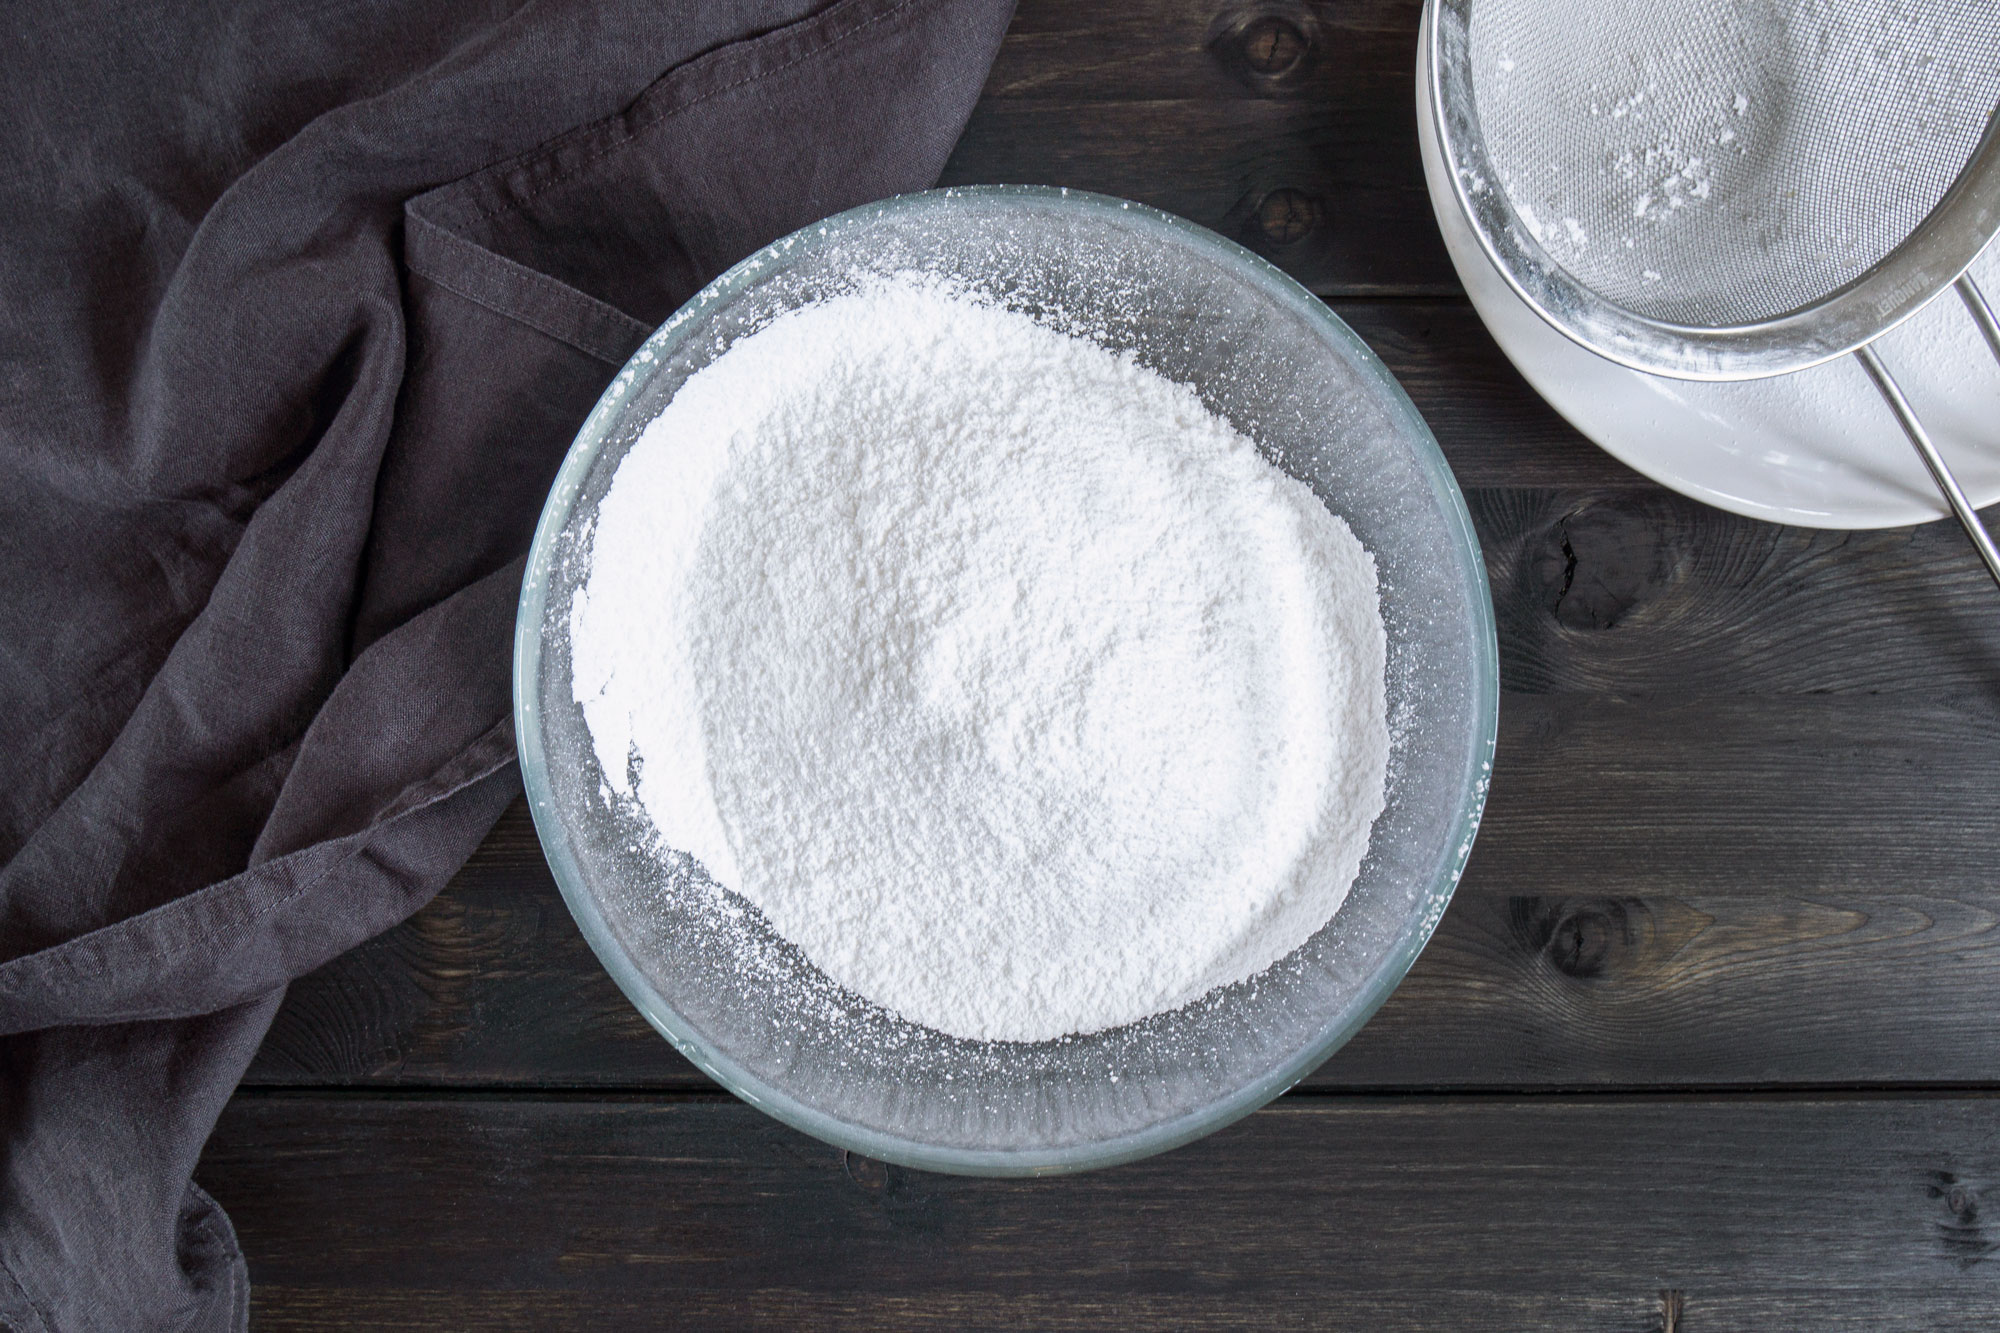
Sift 300 g / 10,6 oz of icing sugar into a big bowl and set aside.
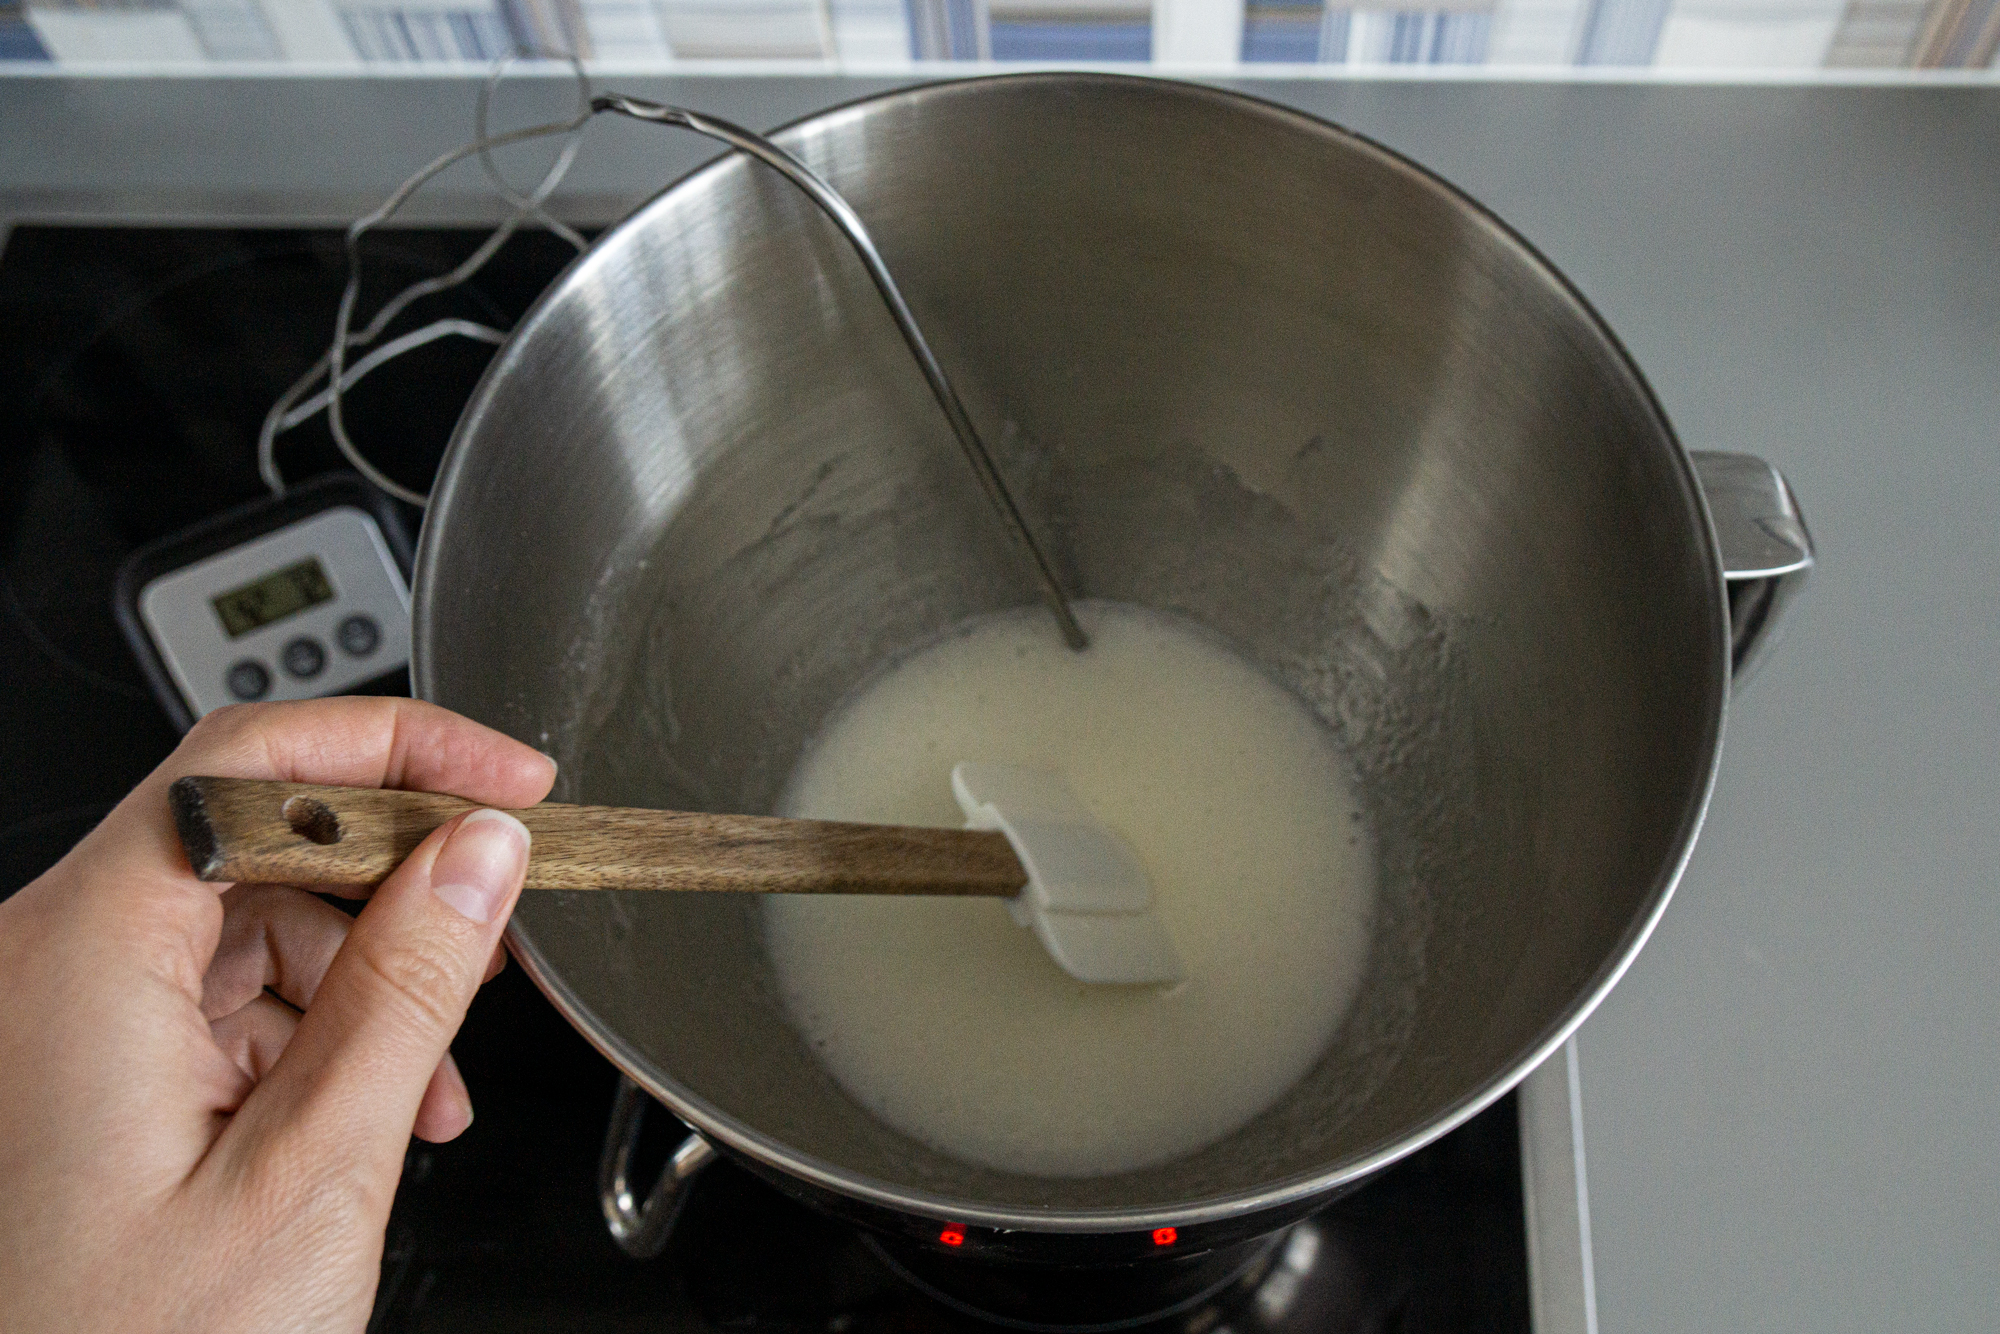
In a metal bowl combine egg whites and remaining 200 g / 7 oz of icing sugar. Boil some water in a saucepan, then reduce the heat to medium to keep the water simmering but not bubbling vigorously. Put the bowl with egg whites on top of the saucepan with steaming water making sure that the bottom of the bowl is not touching the water. Heat the mixture stirring with a silicone spatula or a spoon all the time. Do not whisk or whip. Scrape the sides to make sure that all the sugar fully dissolves. When the temperature reaches 60°C / 140°F, start the timer. To pasteurize egg whites, keep the temperature above 60°C / 140°F, but below 70°C / 158°F, for 2 minutes. If the mixture reaches 70°C / 158°F before the time is up, simply move the bowl off the heat, but keep mixing and monitoring the temperature.
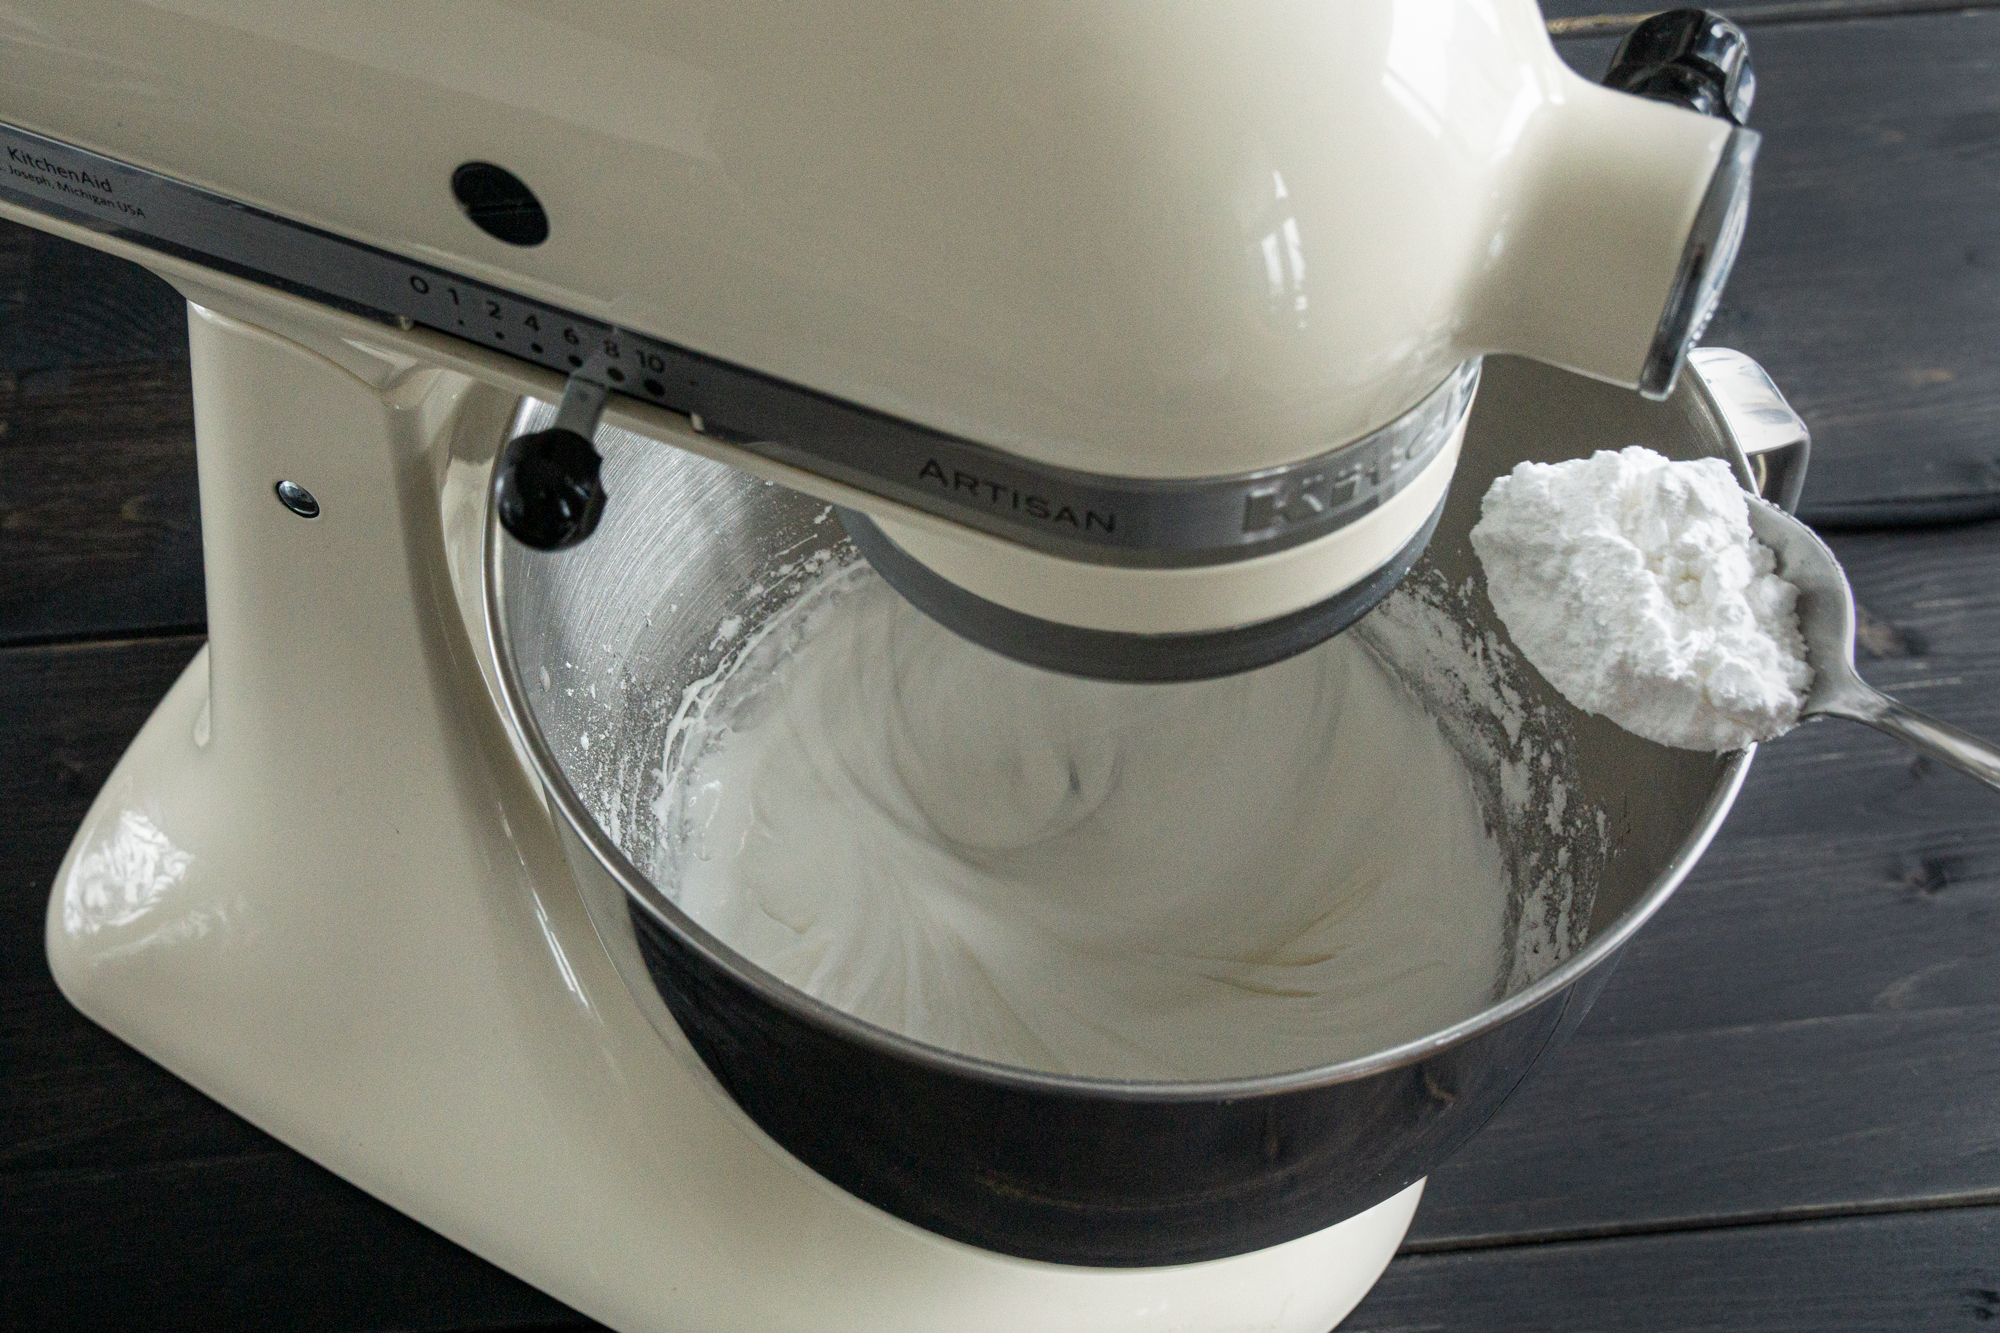
Remove the pasteurized egg whites from the heat, add lemon juice and start whisking with a hand-held or stand mixer. When volume slightly increases, start adding the remaining icing sugar you have sifted before. You can stop the mixer and add a third of the sugar at a time, or add it spoon by spoon while the mixer is running.
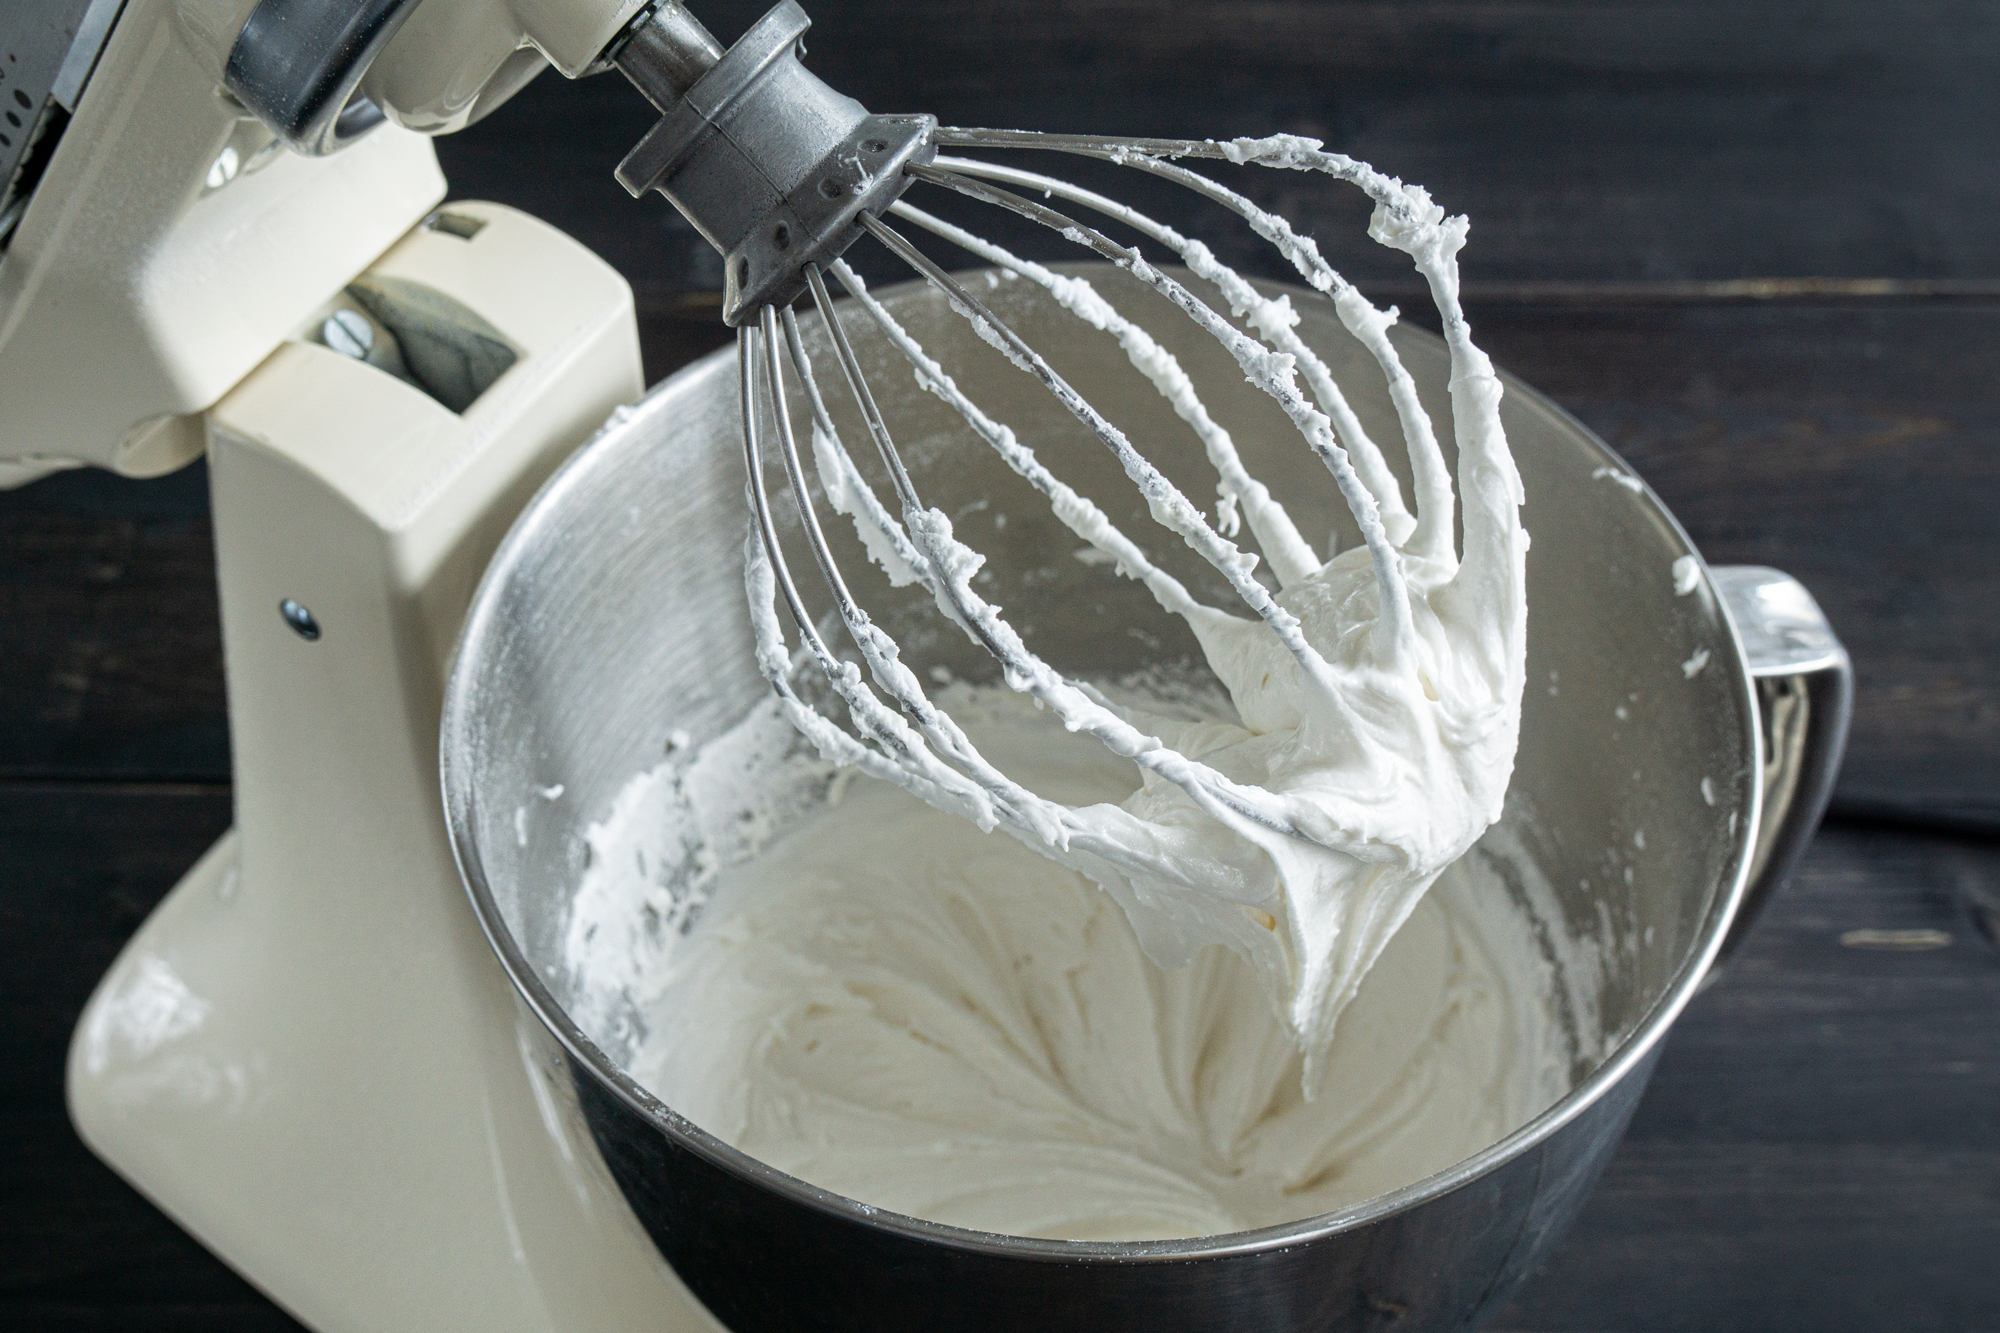
After adding all the sugar, whisk a minute longer till you have a thick icing, that holds its shape.
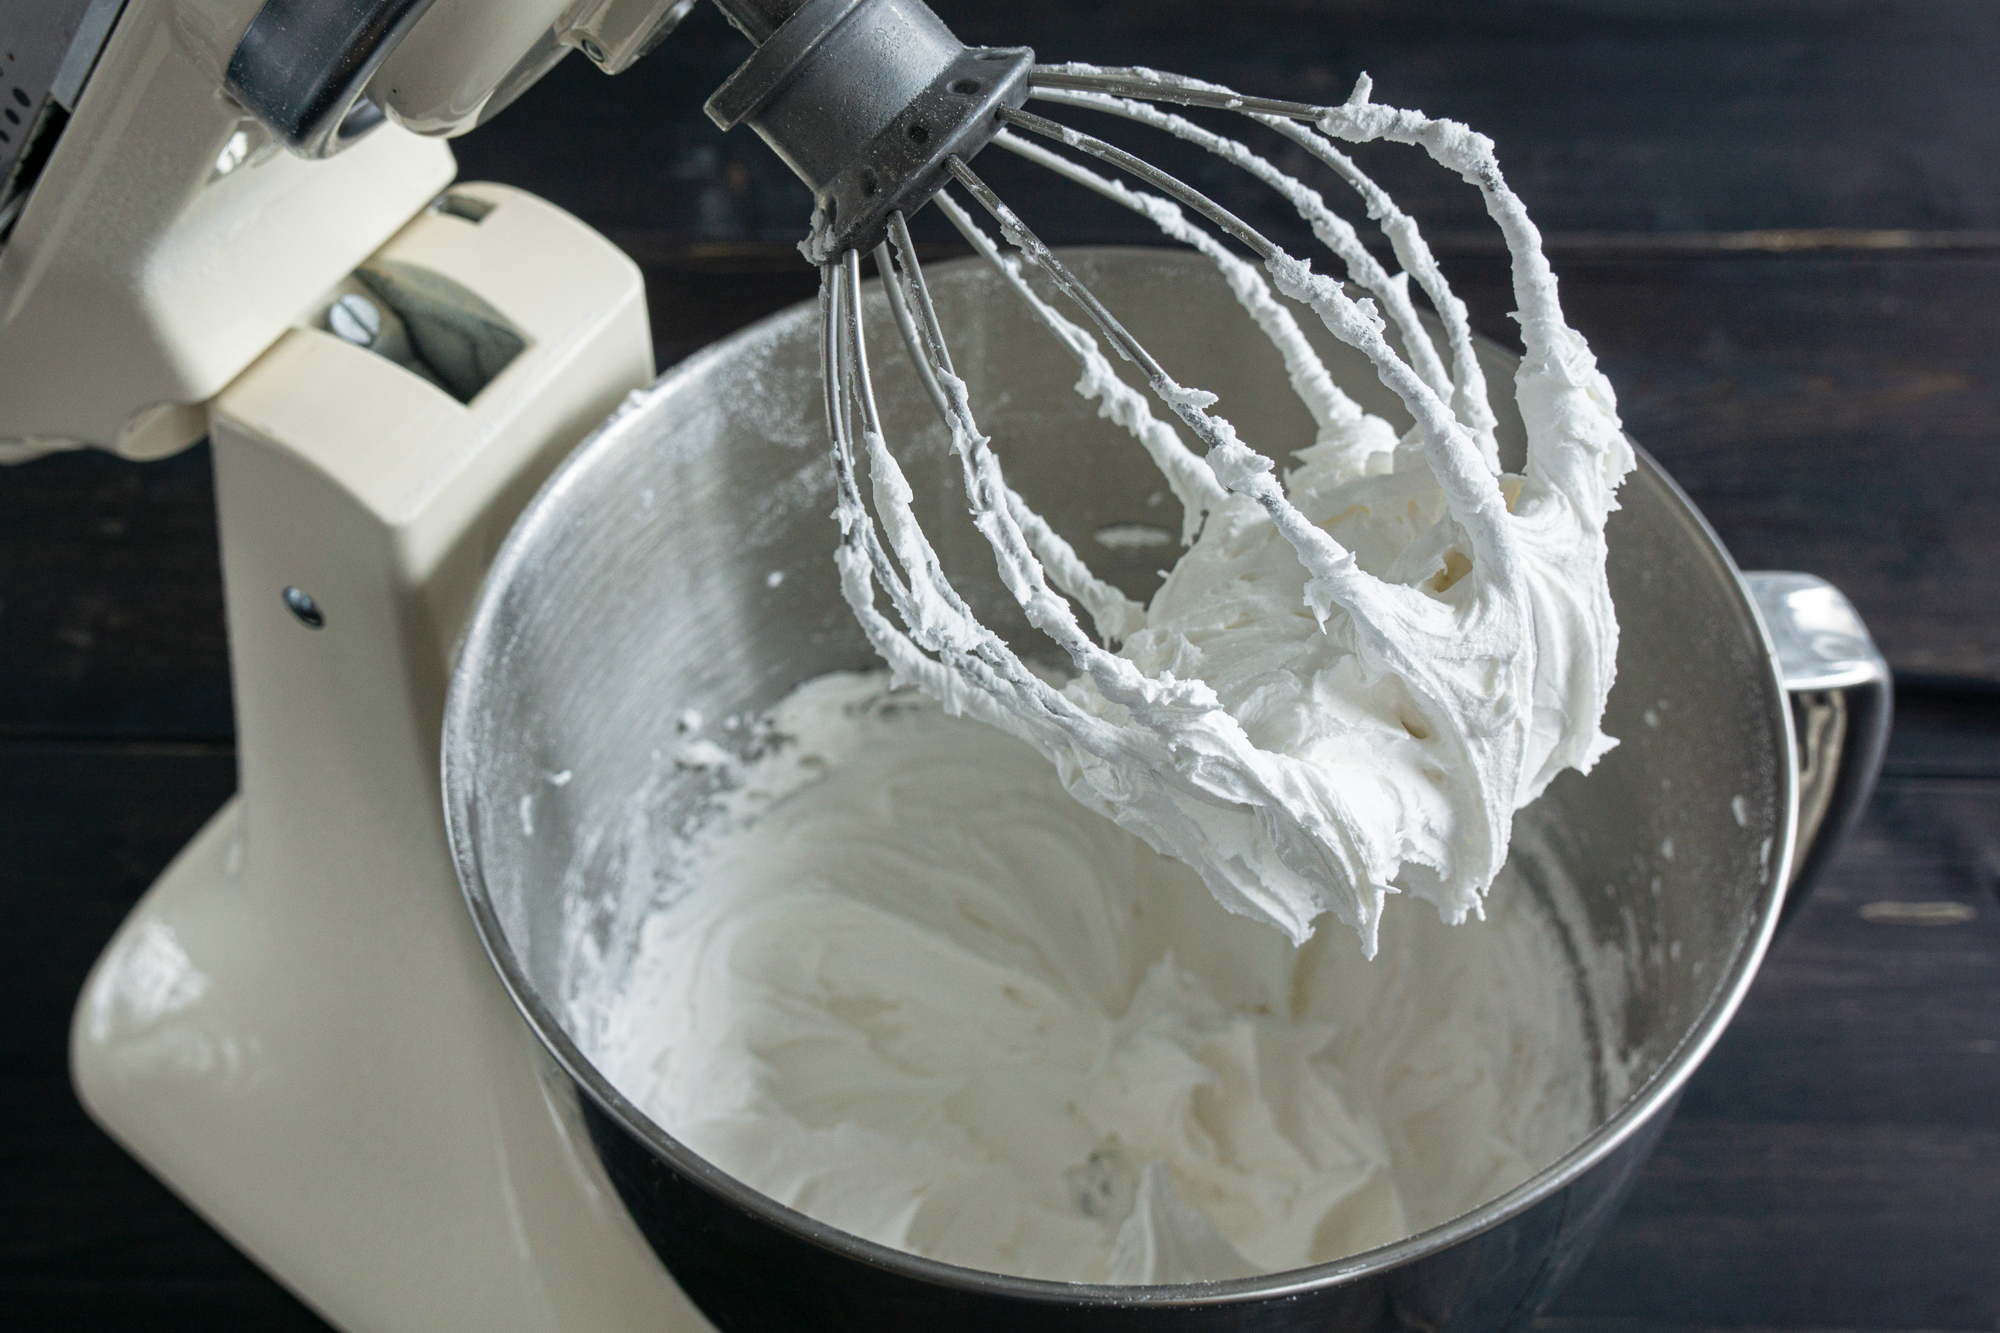
Add vanilla extract and whisk a bit more to incorporate it. The extract will slightly thin the consistency.
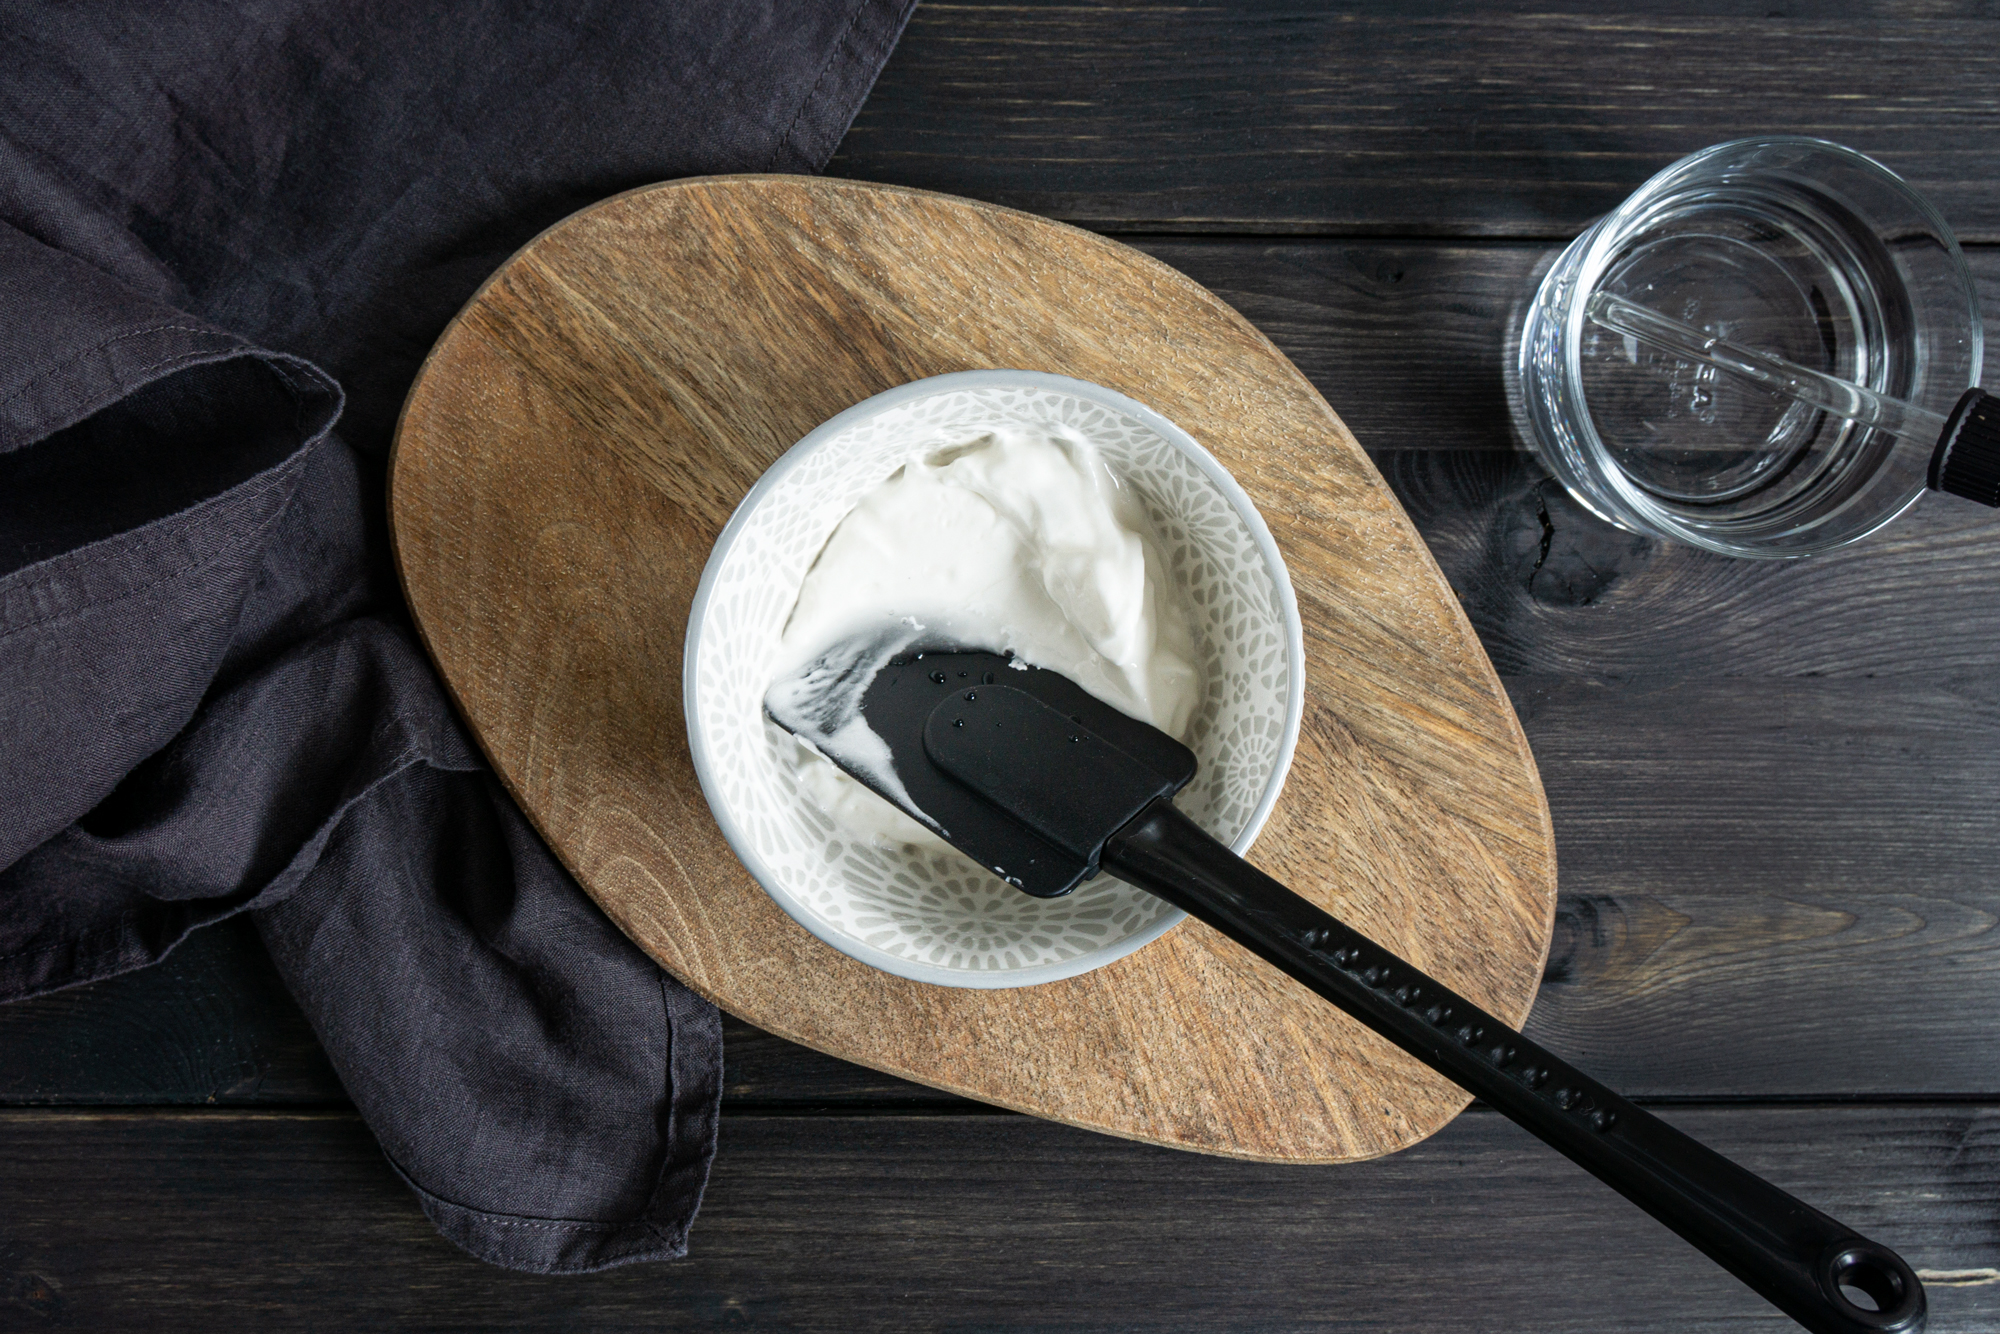
Thin the icing to the flood consistency
Use a dropper or a teaspoon to add small amounts of water to the icing and mix it with a silicone spatula or a spoon.
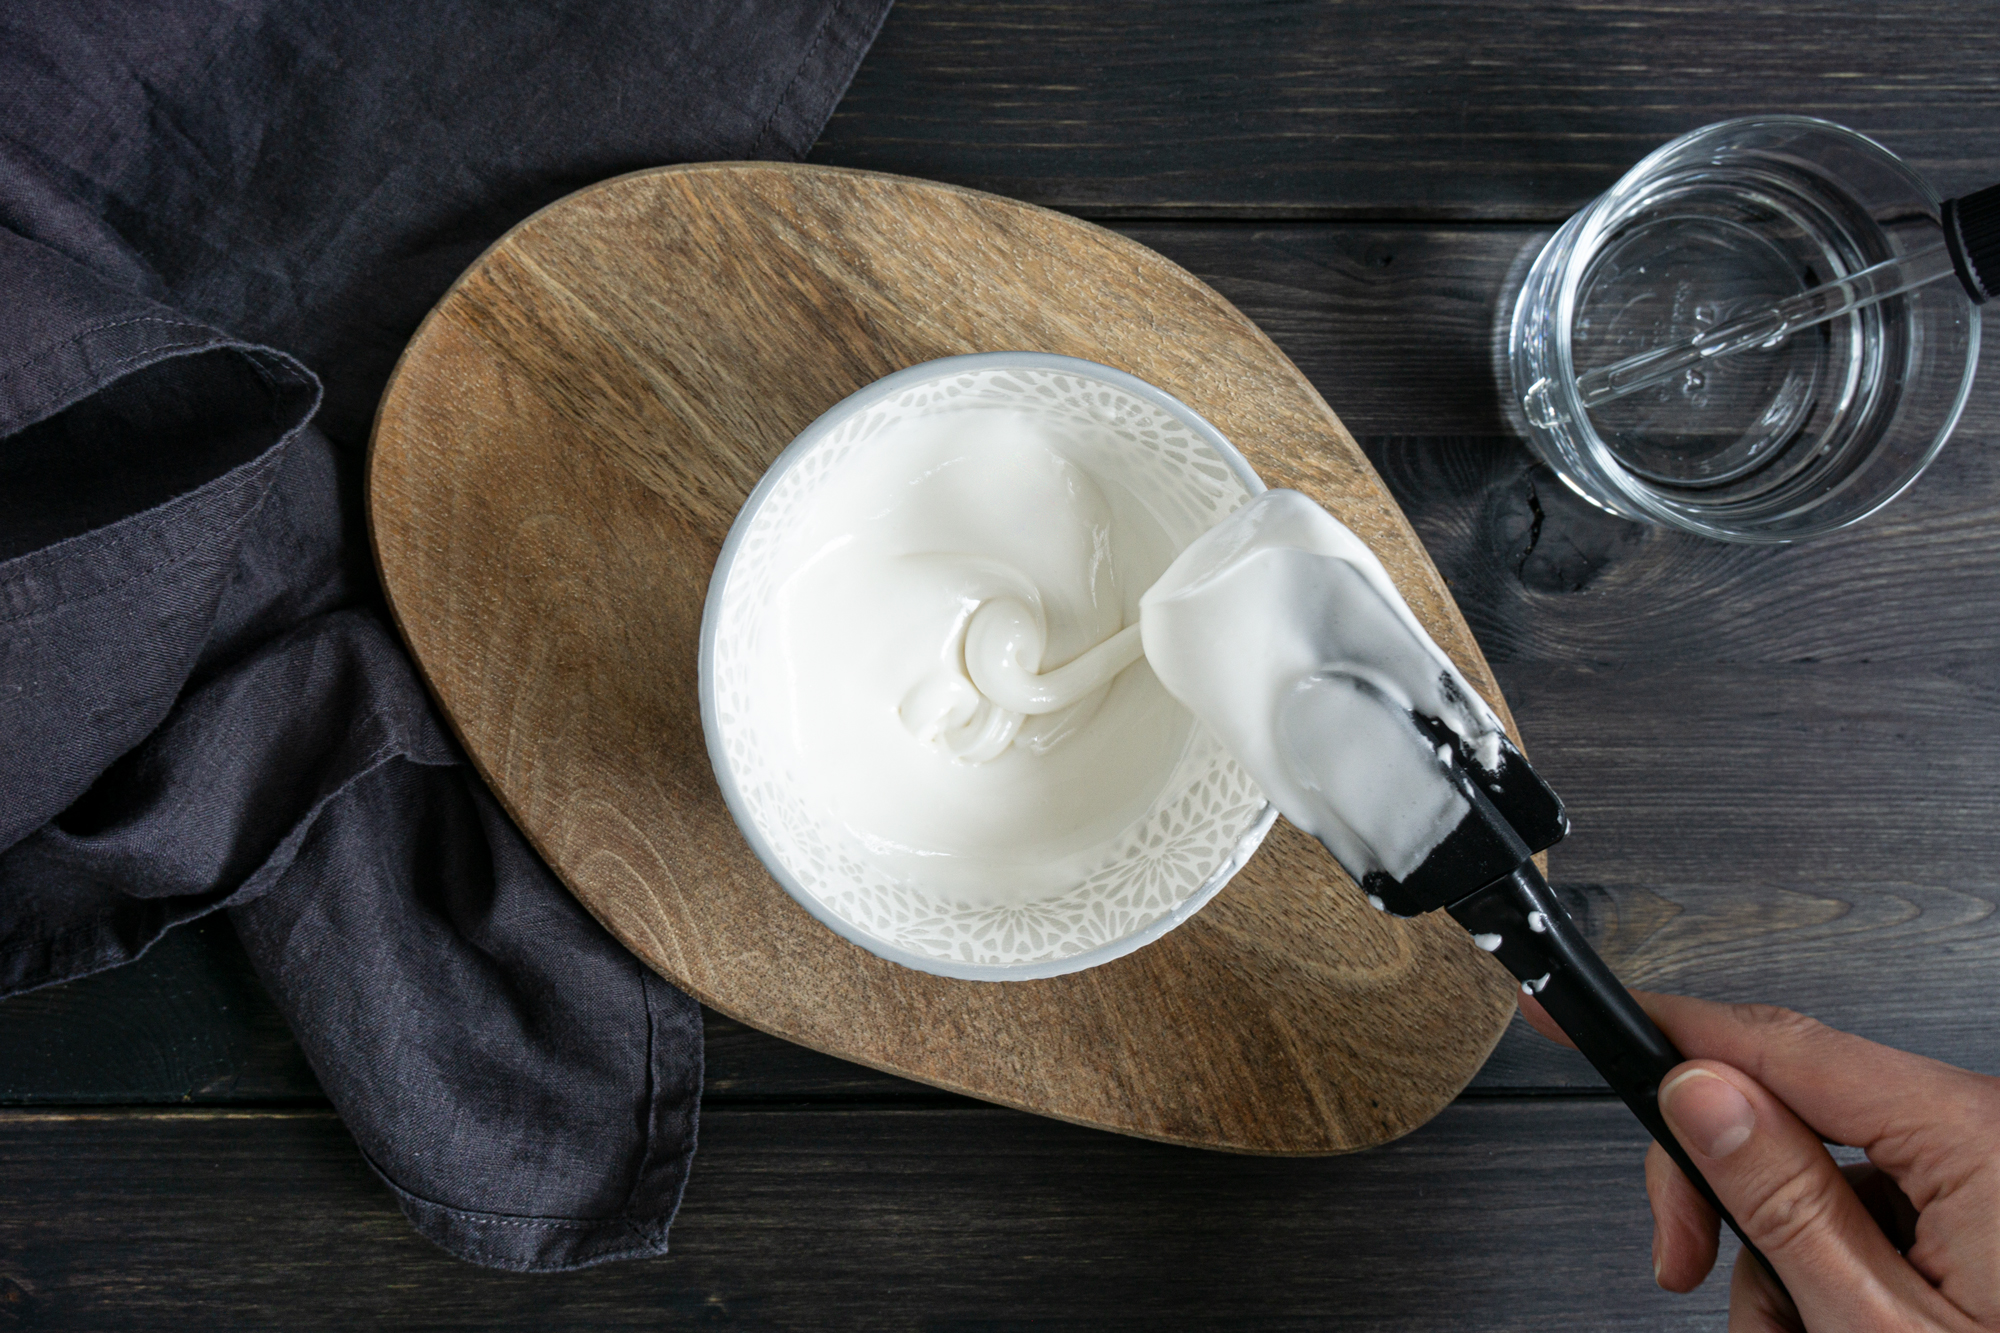
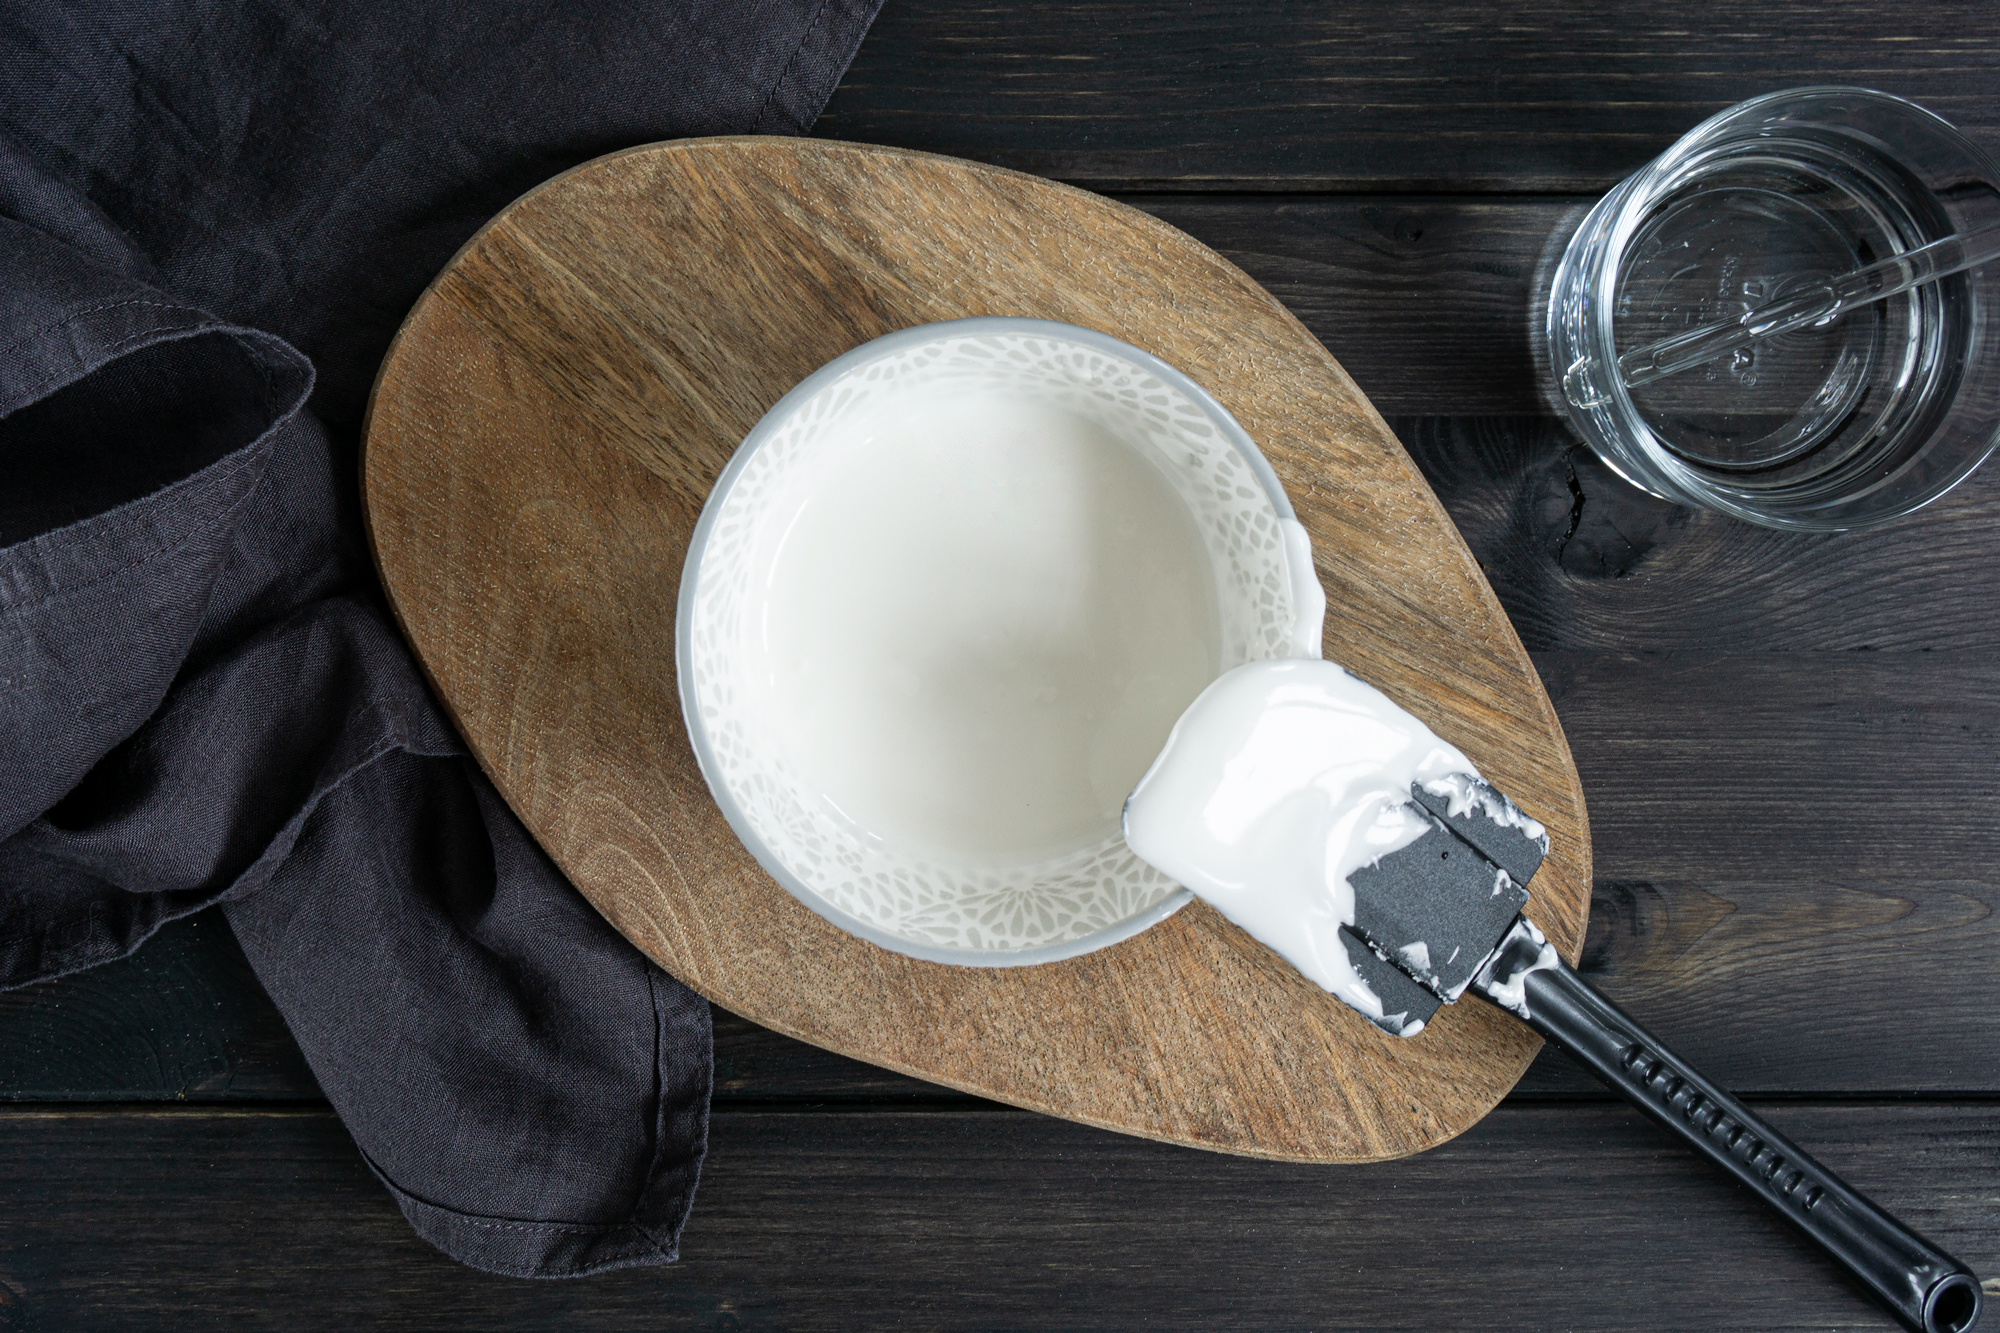
Keep adding water, a few drops at a time, and mixing till you reach flood consistency. When lifting the spatula, the icing should fall in ribbons. Those ribbons should level themselves and totally disappear after 10-15 seconds (see chapter Royal Icing Consistencies above for more information).
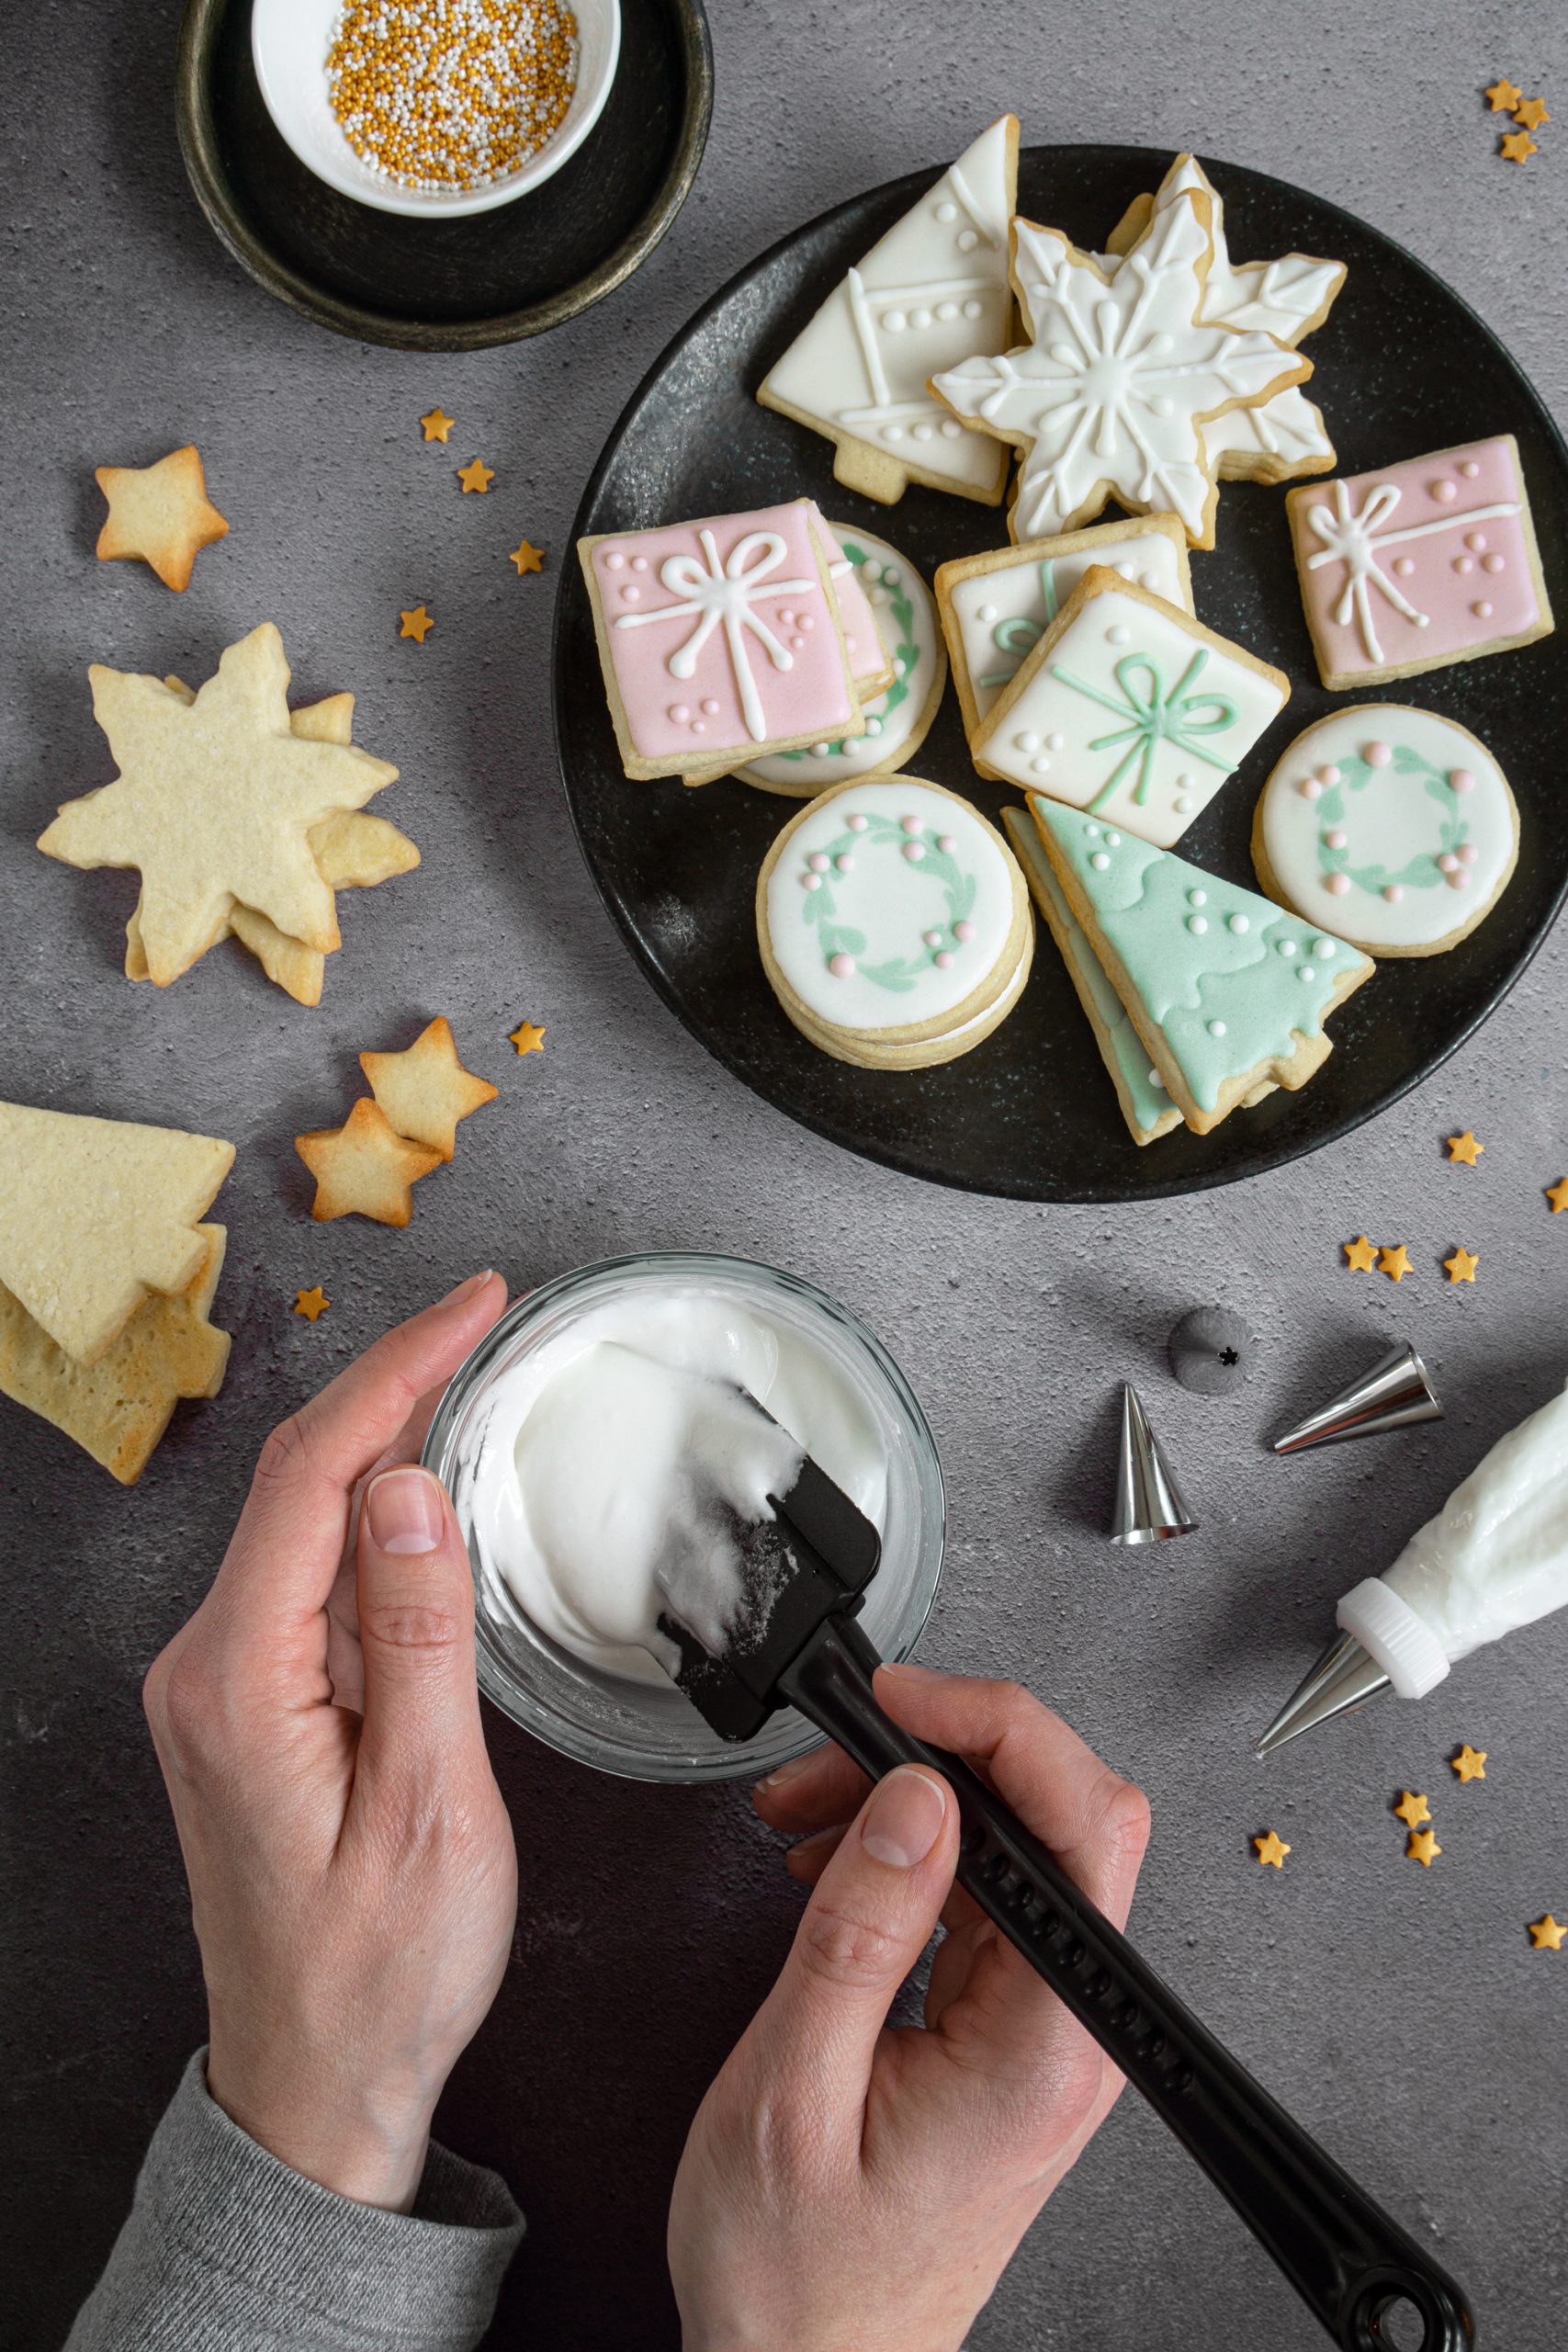
Decorate the cookies
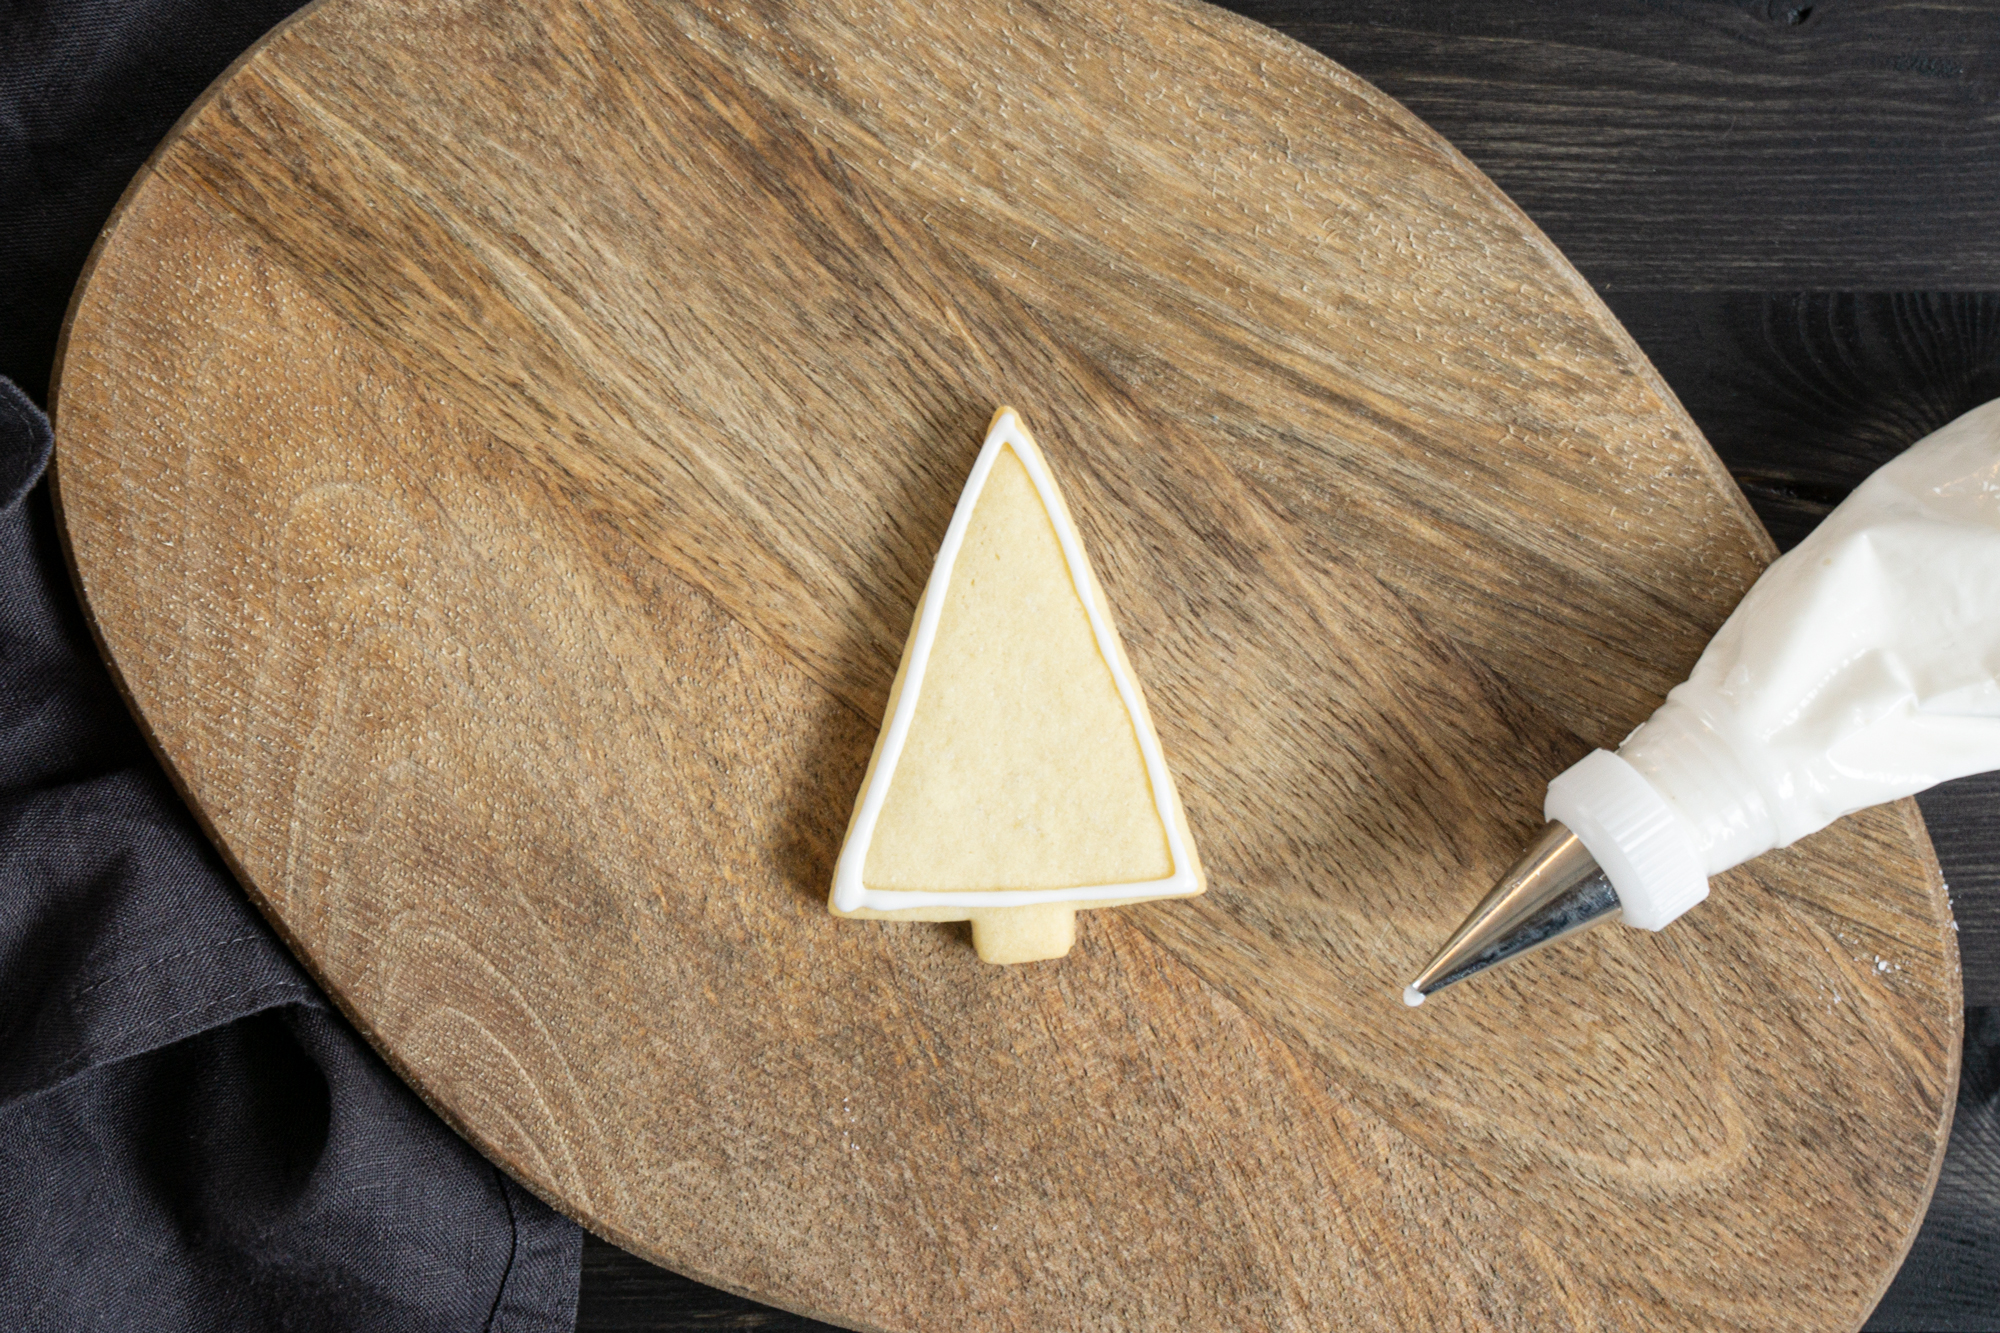
Transfer the flood-consistency icing to a piping bag or a drip bottle.
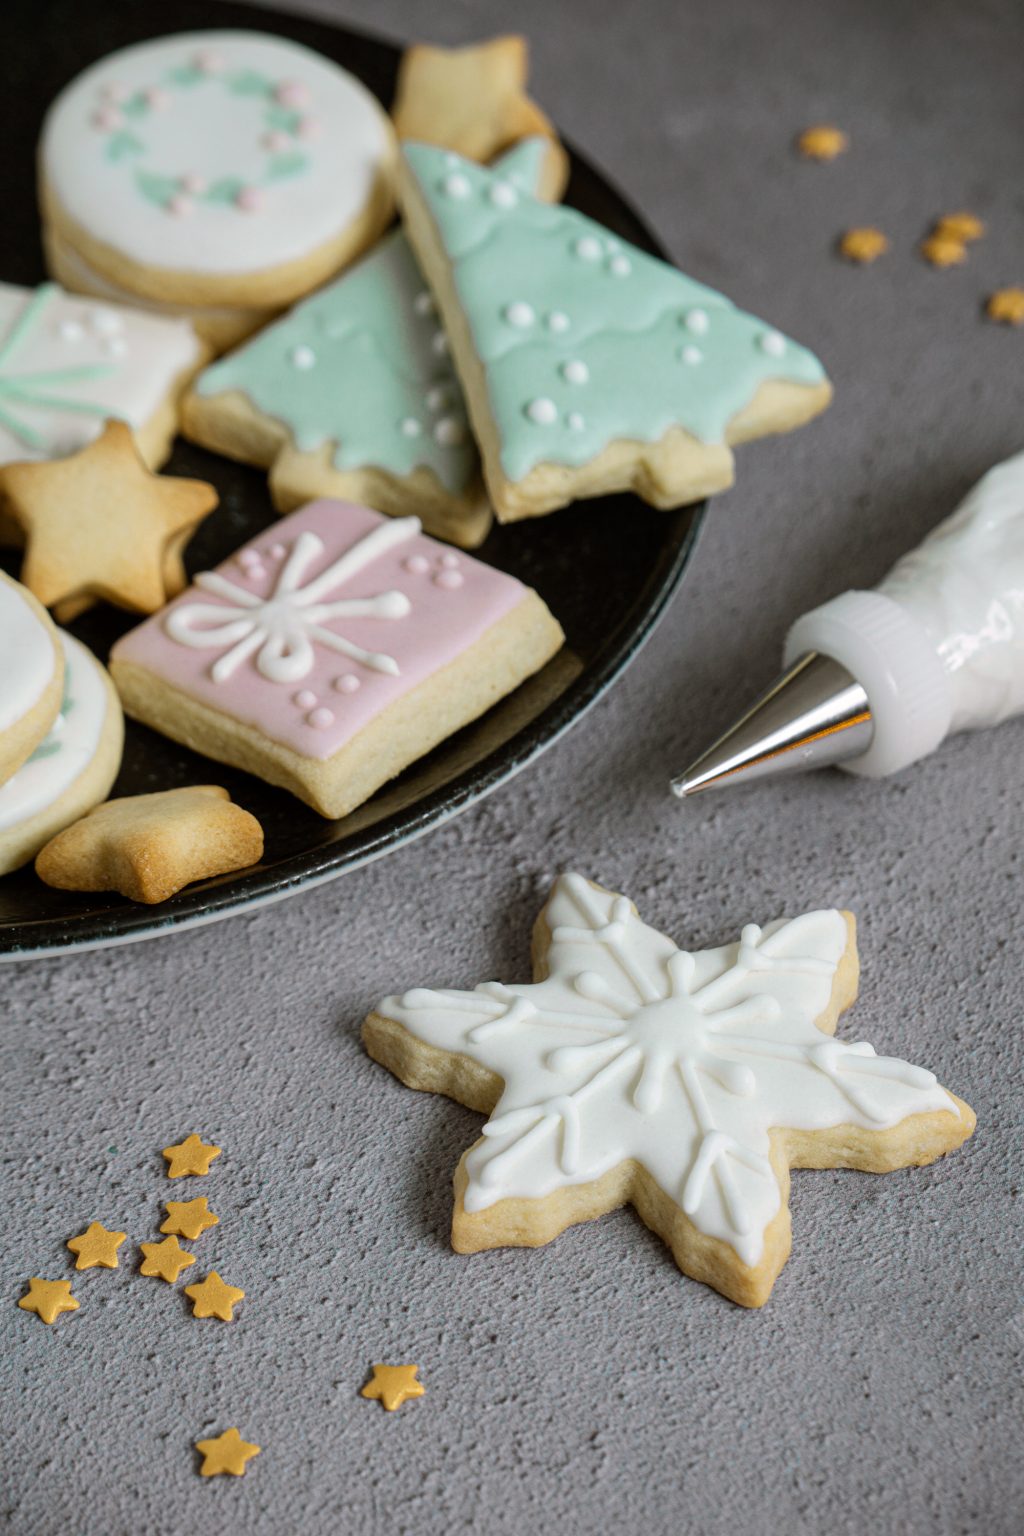
Press the piping bag lightly with your fingers and draw a cookie shape outline with the icing.
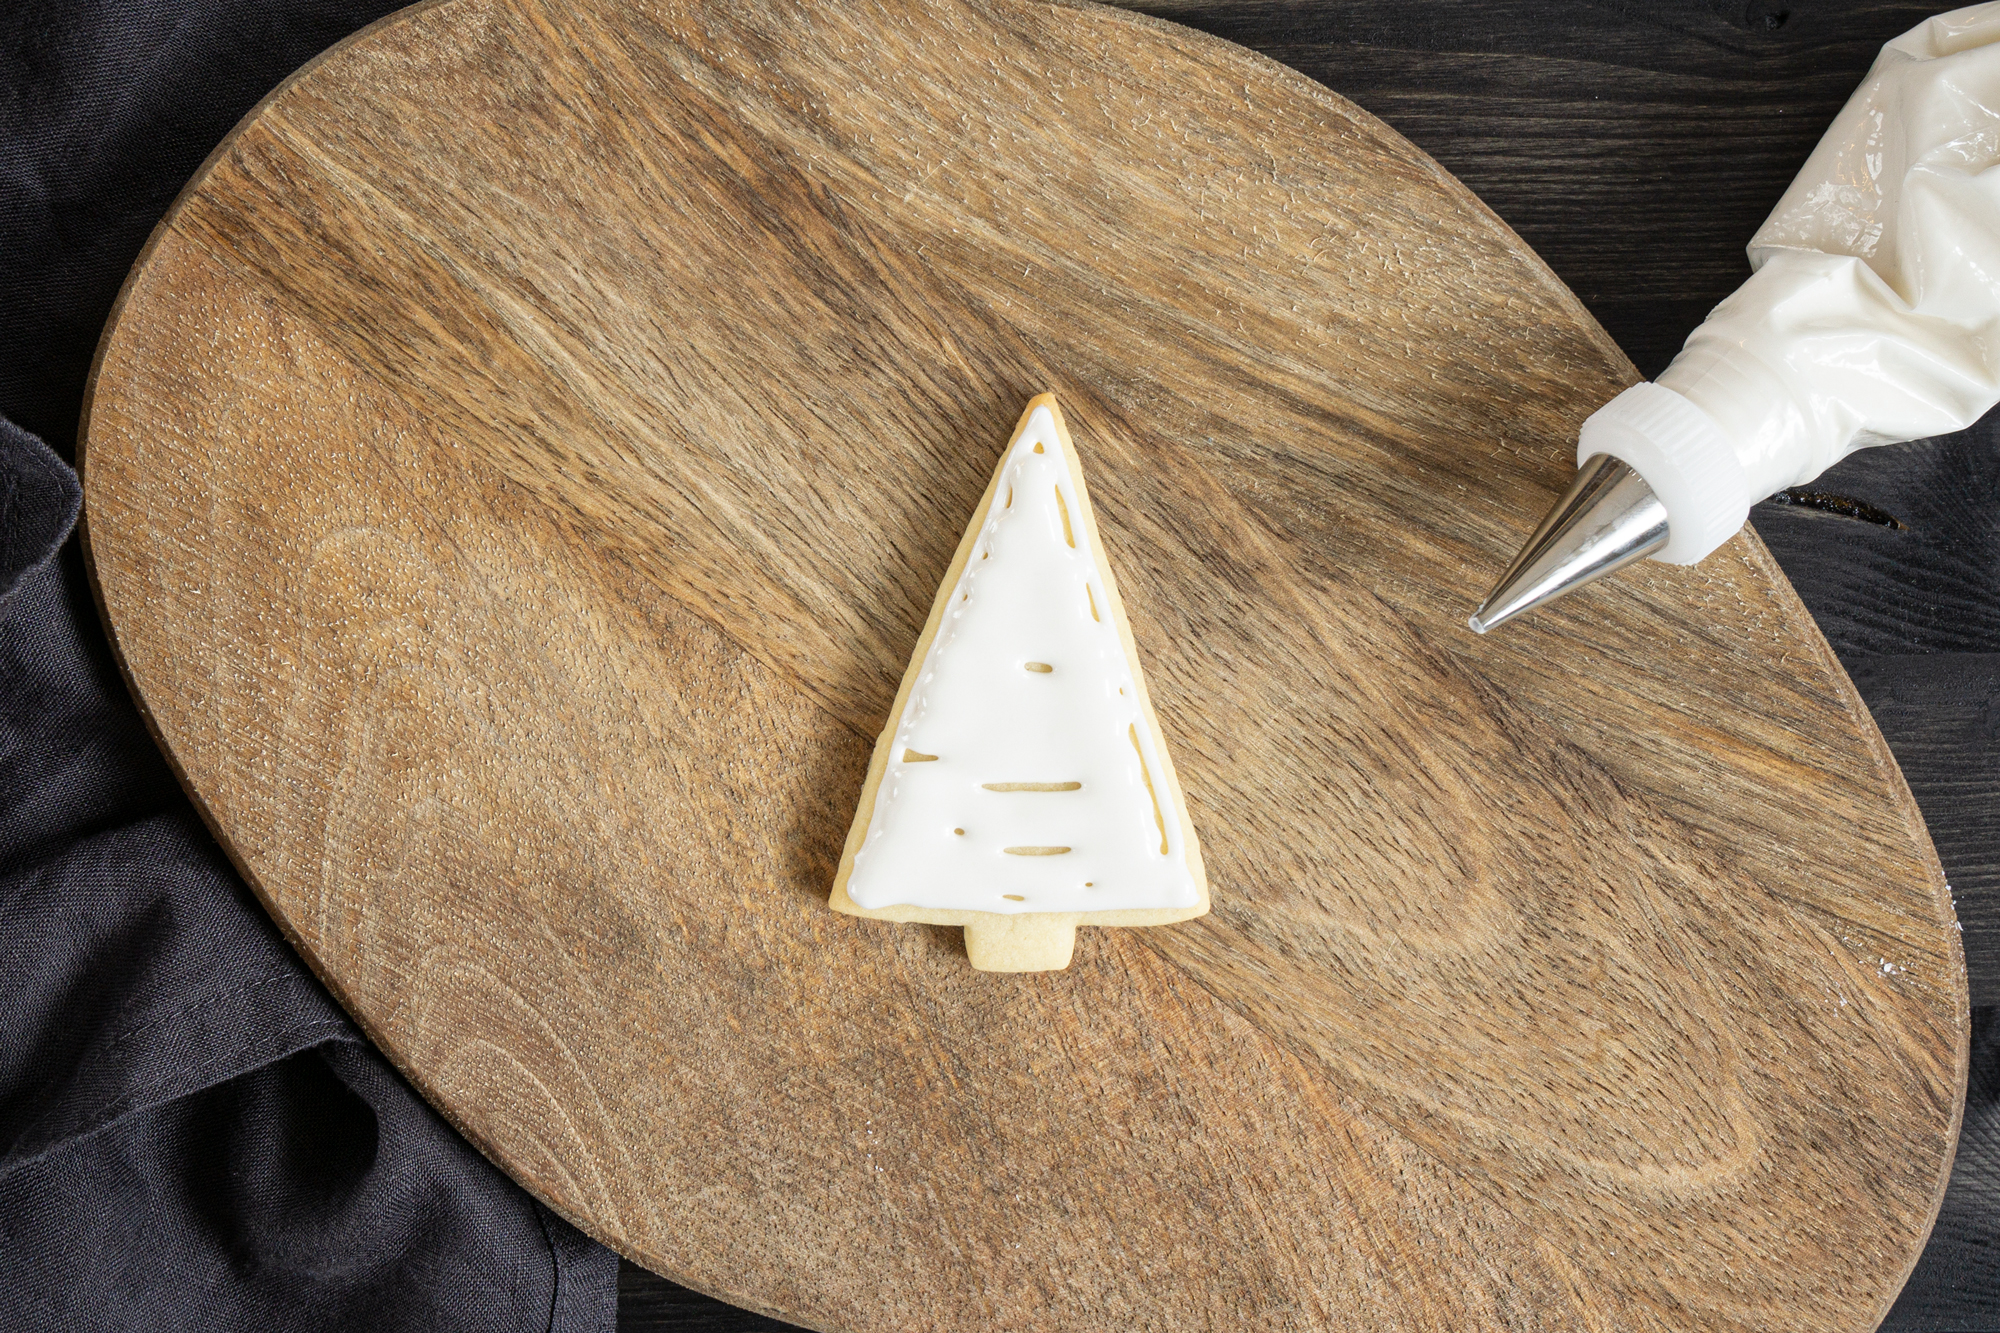
Without waiting for the outline to dry, adding slightly more pressure, immediately flood the inside of the shape with the icing. Don’t worry about little gaps.
Use a toothpick to move the icing around, fill the gaps and remove air bubbles, if there are any.
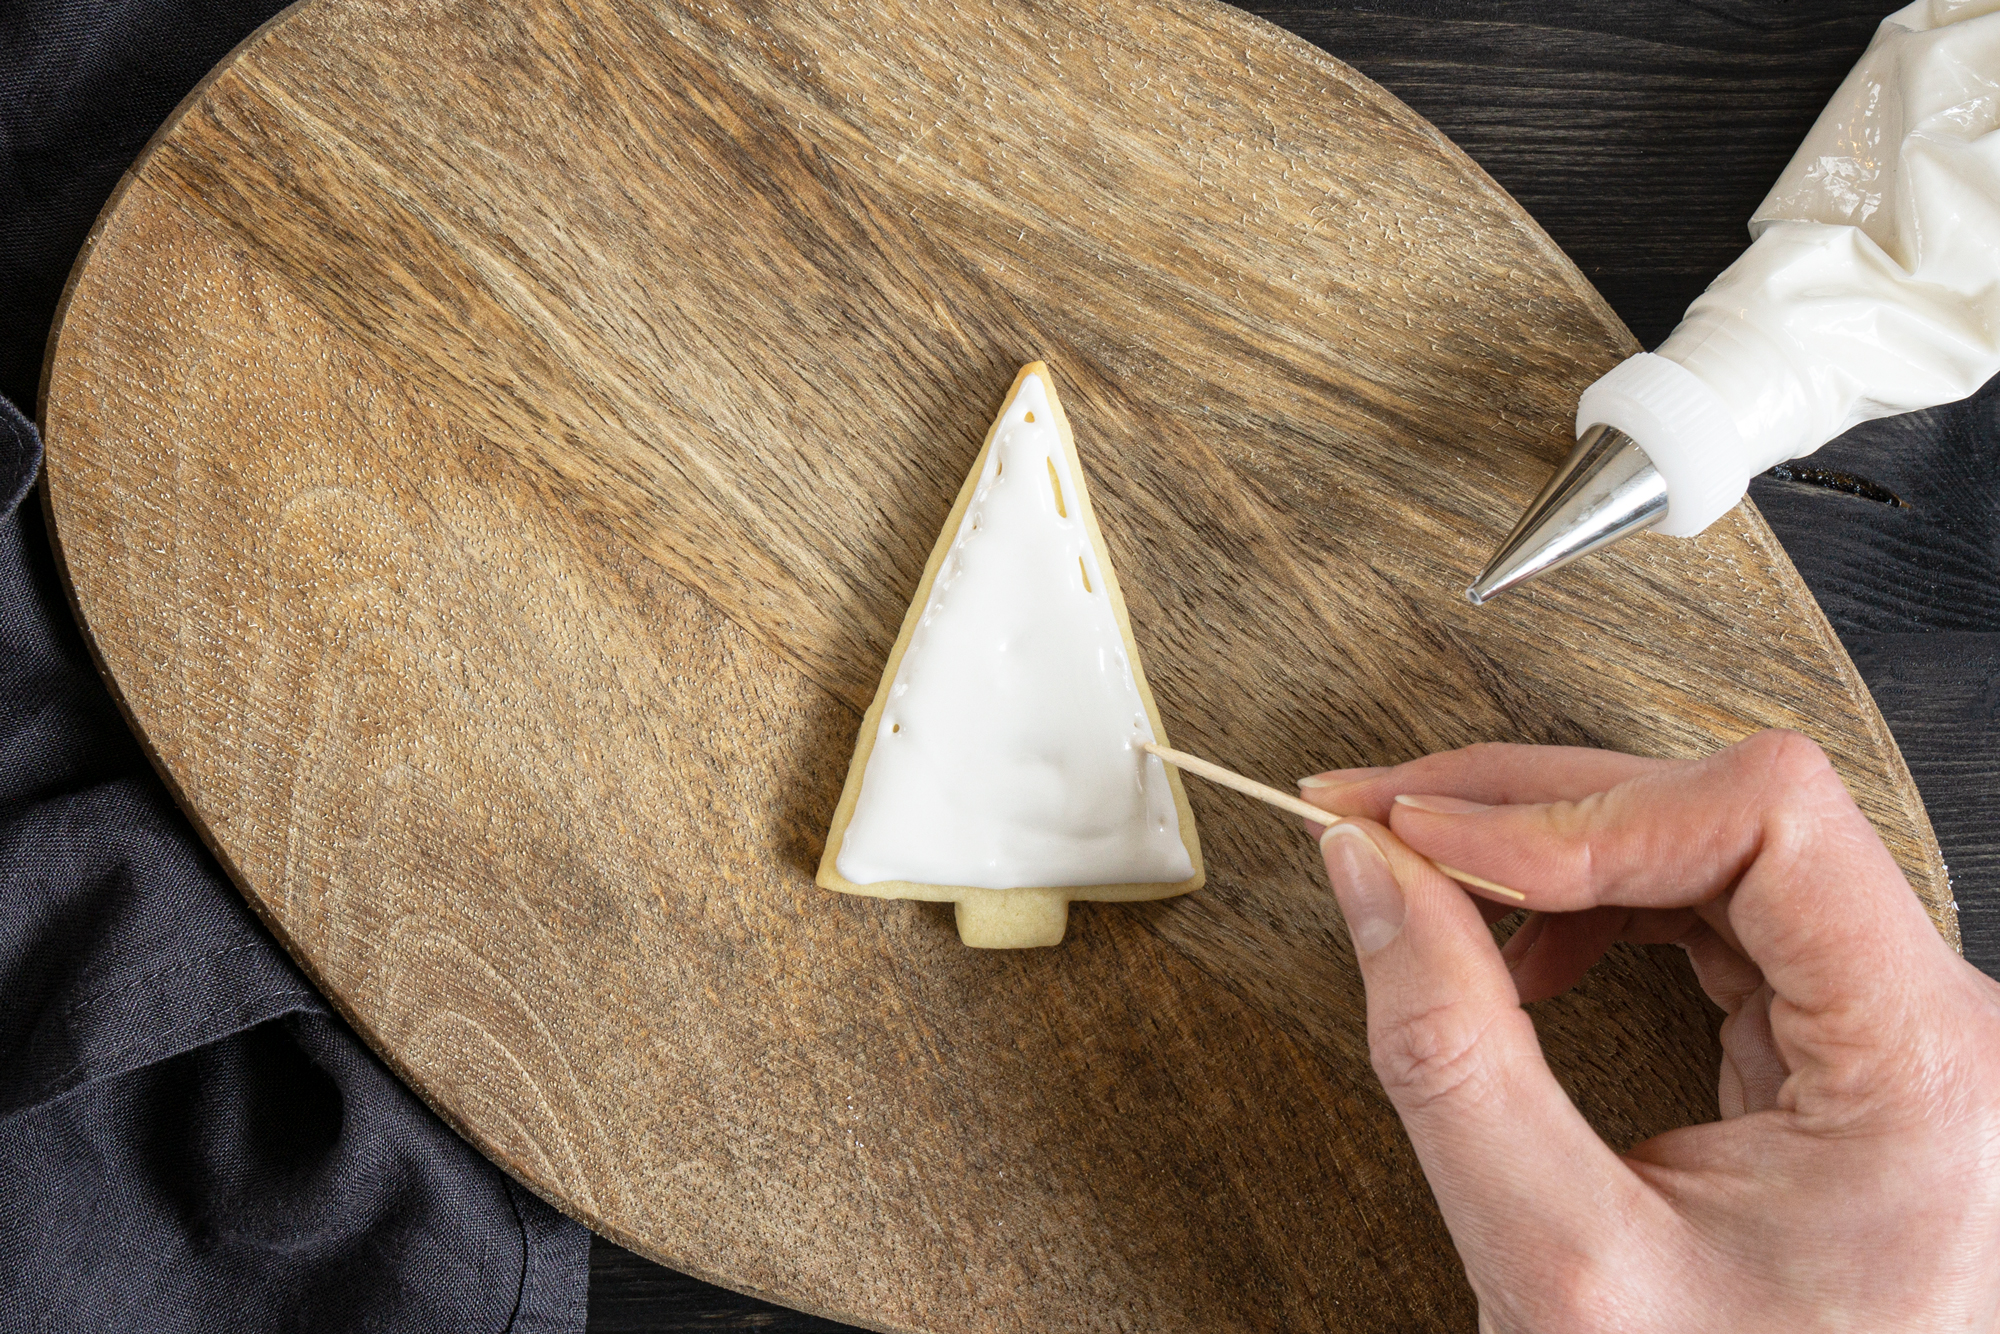
Lightly shake the cookie horizontally to help the icing to smooth faster.

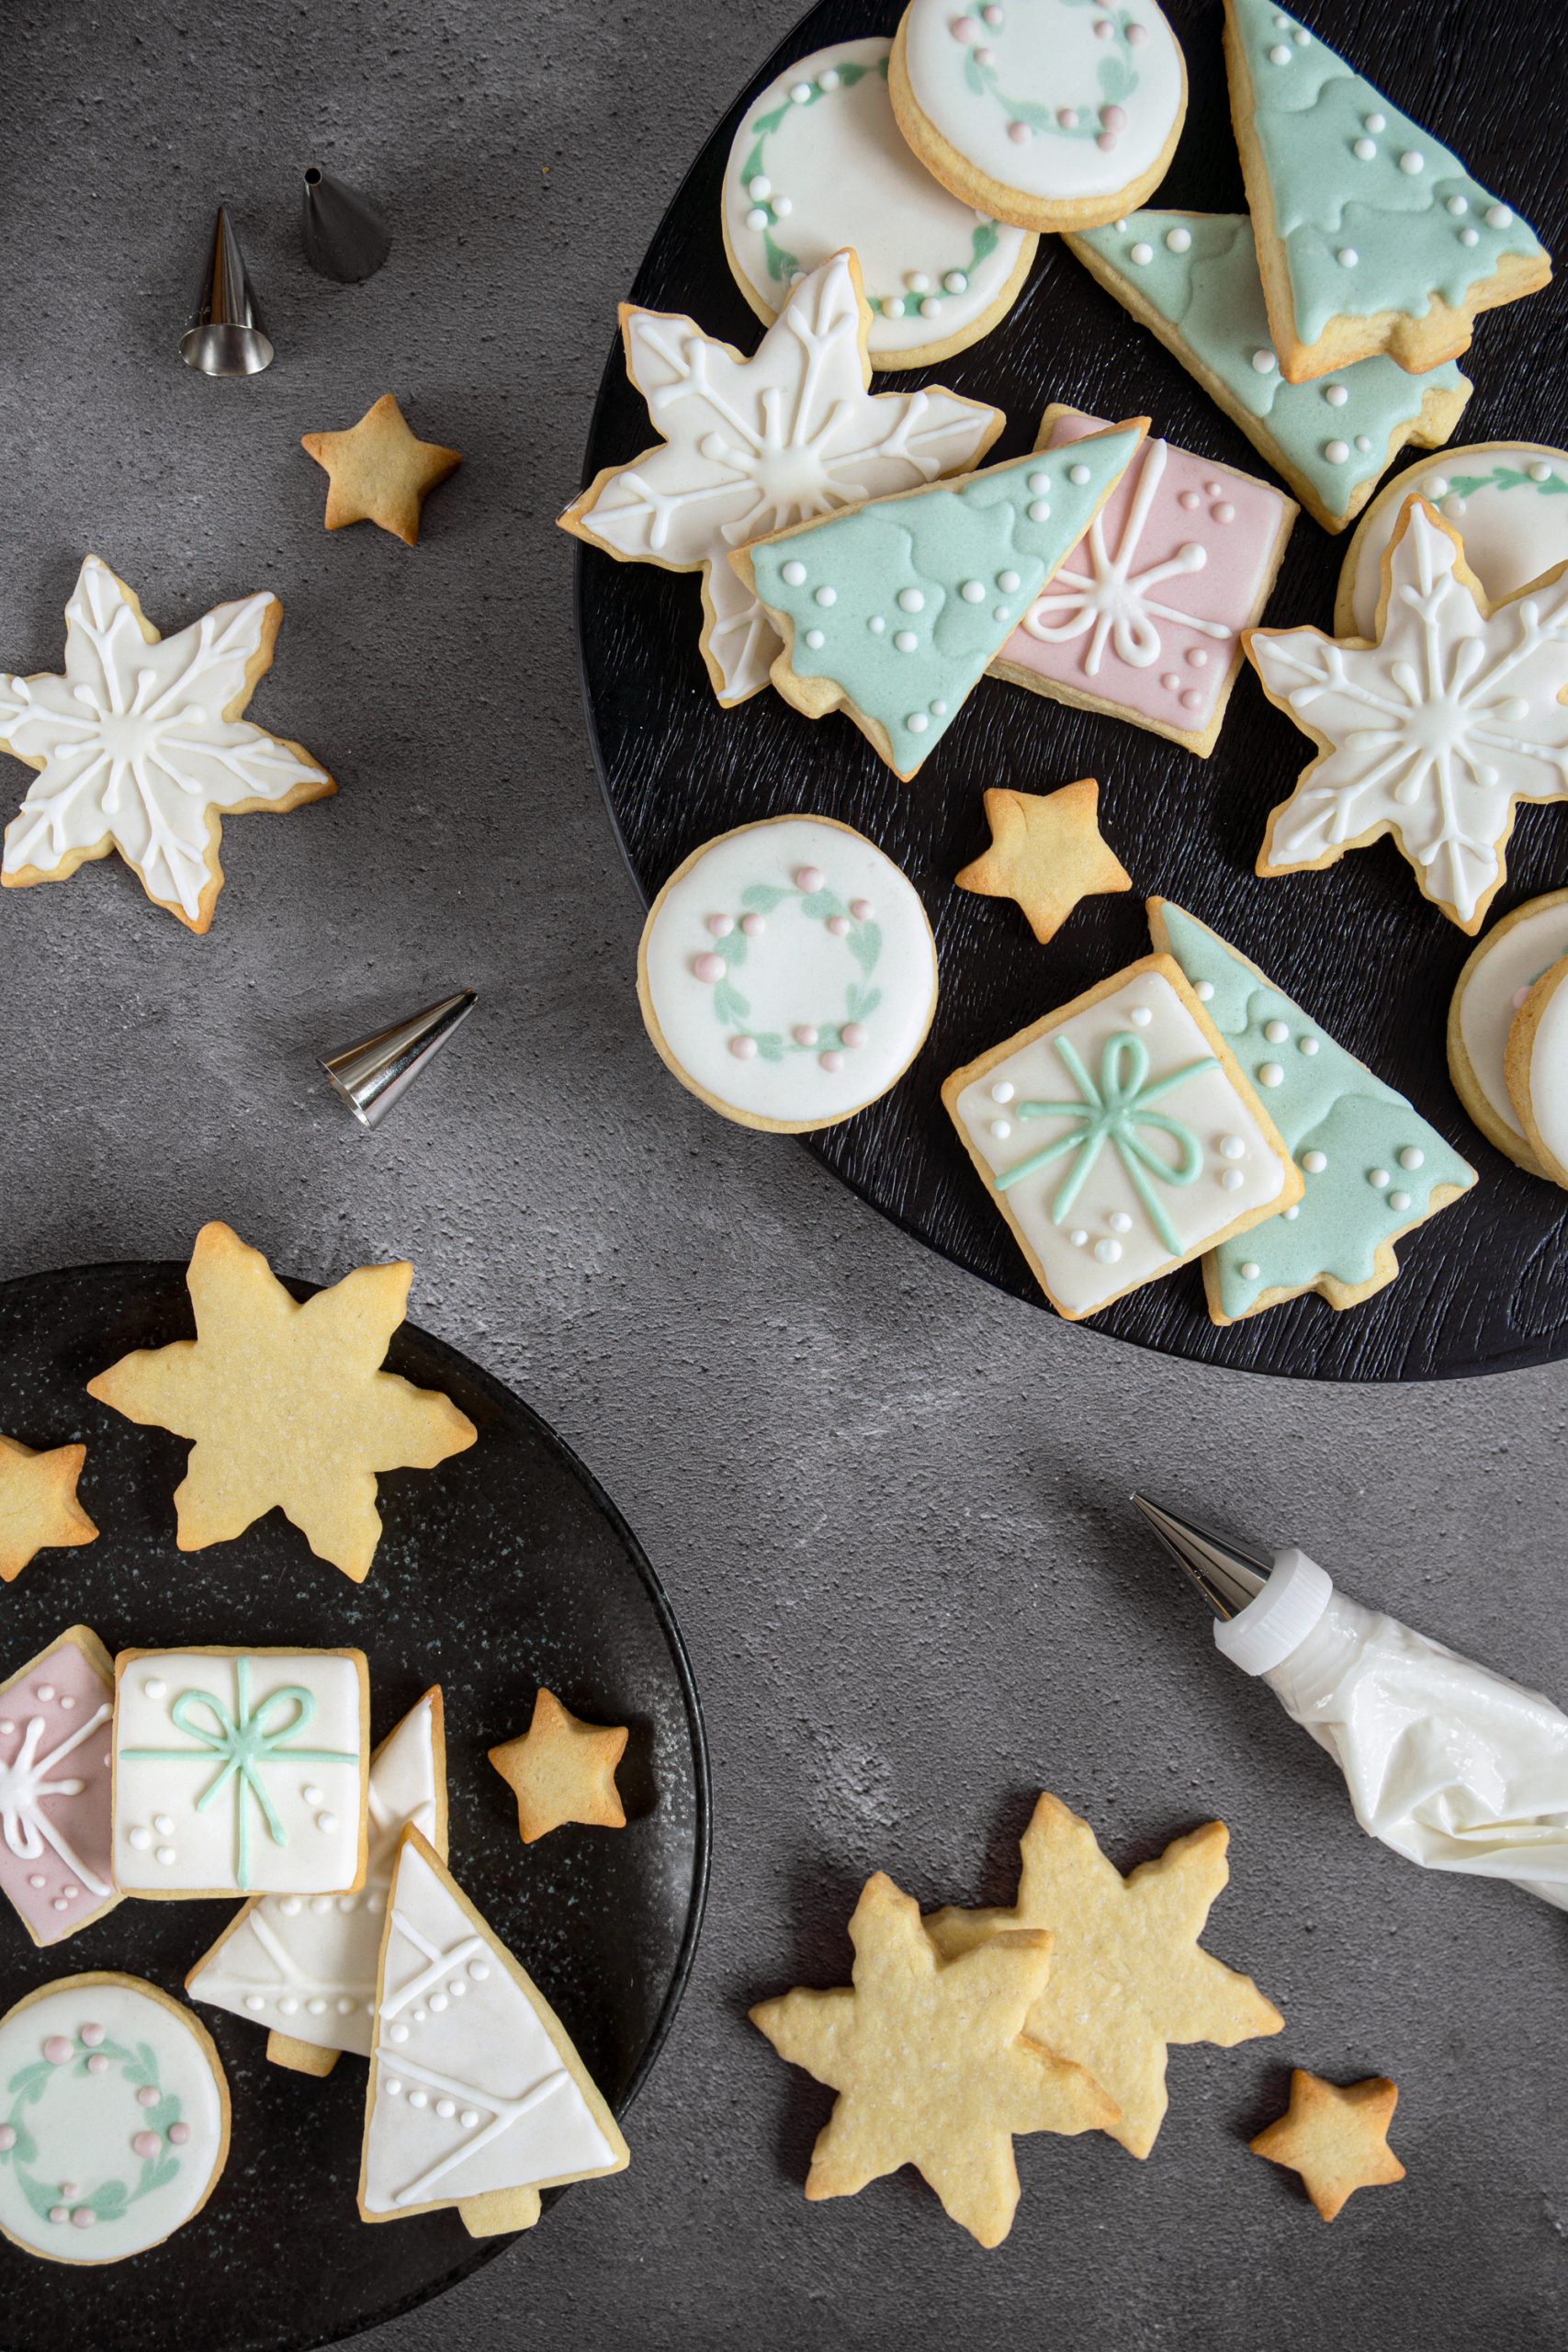
If you are adding sprinkles, do it now so they can stick to the wet icing. If you wish to draw extra details with icing on top, wait for the first icing layer to partly dry, at least until the top gets matte. Depending on what kind of details you are going to draw, the same flood consistency might work or you might need a different consistency icing. Read the chapter Royal Icing Consistencies above for more information.
Leave decorated cookies in the open air at room temperature for at least 6 hours or overnight to fully dry.
Notes
- Do not add lemon juice before pasteurizing the egg whites. It will lower the pH and make the Salmonella more resistant.
- To thin the icing, use room-temperature water. Don’t use hot or very cold water.
- When you are getting close to the right consistency, don’t add more than a drop of water. A little water goes a long way.
- If you accidentally thin your icing too much, mix in a bit of stiff icing or add some more sifted icing sugar.
- Don’t leave Royal icing in the open air, or it will start crusting quickly. When not in use, cover it well with plastic wrap or keep it in an airtight container. When not using a piping bag, cover the piping tip with a wet paper towel, or crusting icing can clog the tip.


This is such an easy recipe. No added unnecessary ingredients. I did add a bit more lemon juice, vanilla, and salt to try and cut the sugar flavor back some.
Thank you so much
Thank you! I’ve been trying to find a royal icing recipe that uses egg whites where you can heat to pasteurize. This came out perfectly. I also used salt, almond and butter extracts, and a little more lemon juice as well to cut the sweetness a bit. It gave me a very nice, stiff icing for piping and then added small amounts of water to get piping and flood consistencies.