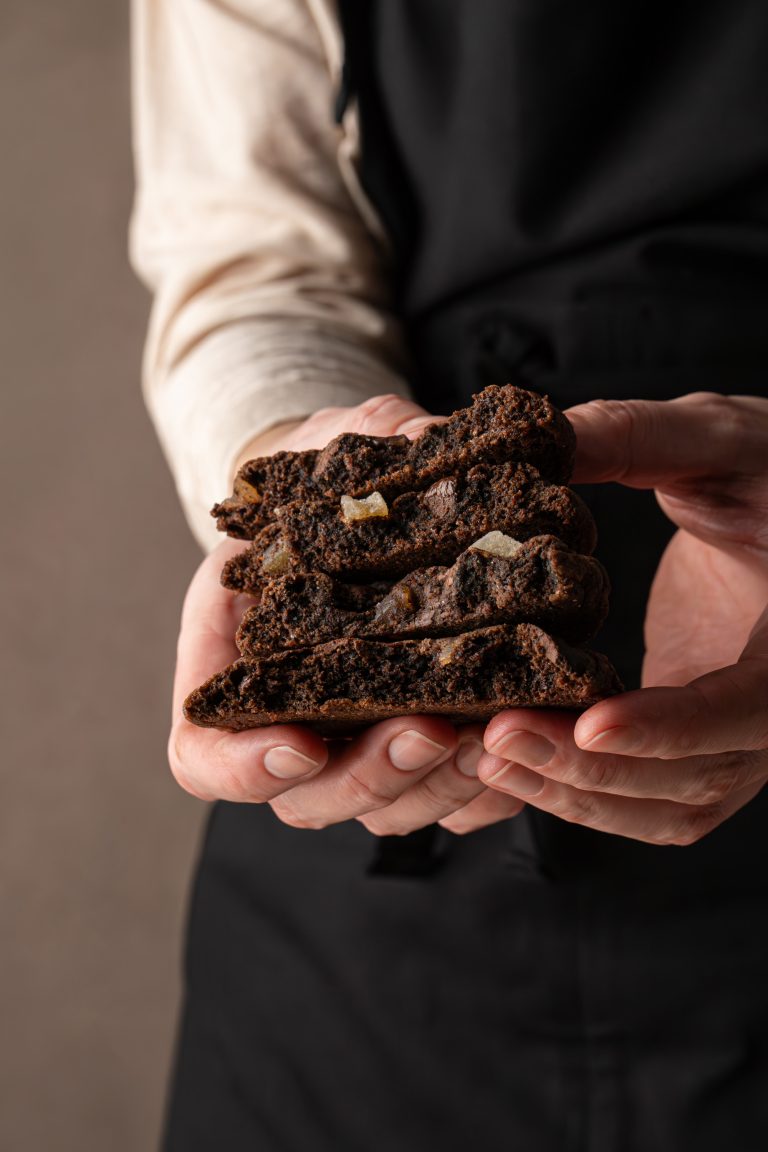
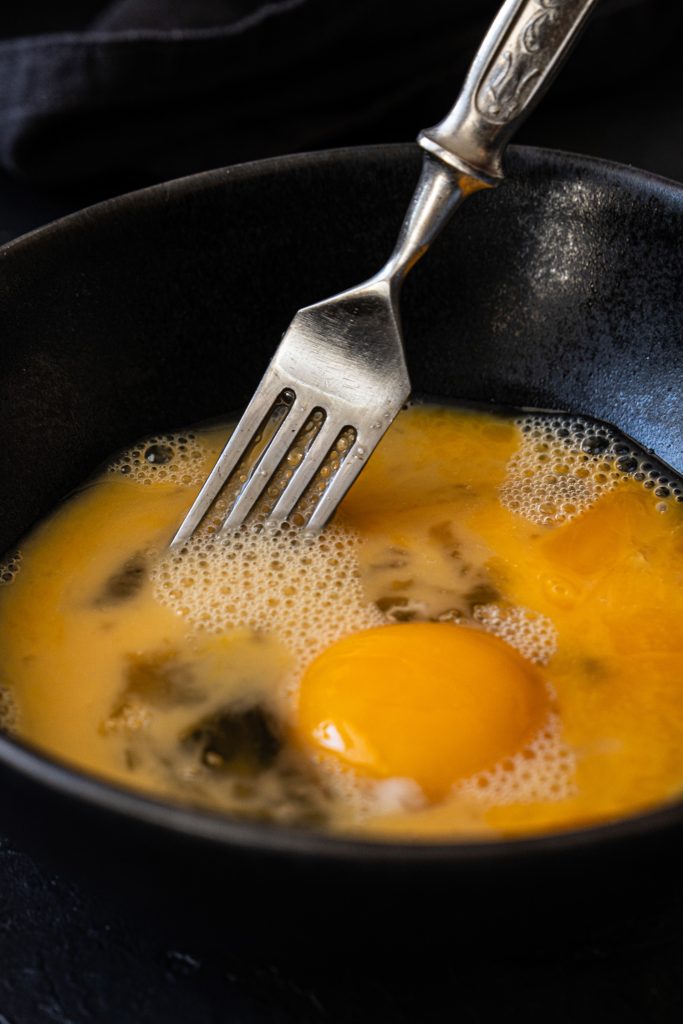
There are many amazing recipes that call for raw eggs (hello, tiramisu!). However, consuming them comes with certain risks. If you’ve been avoiding raw eggs but are tempted to try recipes that call for them, read on. I will show you how to eliminate those risks and enjoy desserts with raw eggs stress-free.
What is pasteurization?
It is a food preservation process in which products are treated with heat to eliminate pathogens. In the case of eggs, they don’t have to be fully cooked; the heat can be high enough to kill bacteria but low enough to keep the eggs liquid. Do you see what that means? You can process eggs to make them safe, but still use them in recipes as if they were raw.
Why should you pasteurize eggs?
Raw eggs pose a risk of containing Salmonella bacteria, which can cause salmonellosis. This disease is characterized by symptoms such as nausea, vomiting, abdominal cramps, diarrhea, fever, and headache. These bacteria can be found on the shell of an egg, as well as in the white or yolk of a completely intact egg. If you live in a developed country, such as anywhere in the European Union, and purchase eggs at a grocery store, the likelihood that your eggs will contain Salmonella is very low. In the EU, at least, the entire industry is highly regulated and monitored. But well, things are done by people, and people are famous for making mistakes. Therefore, contamination of commercially sold eggs is still possible. If you are elderly, pregnant, have a weak immune system, or are preparing a dessert for children, it would be wise to pasteurize the eggs.

How does egg pasteurization work?
When I first started researching how to pasteurize eggs at home, I expected to find one specific temperature that eggs had to reach to be pasteurized. Oh, how naive I was! Temperature recommendations vary widely, so I had no other choice but to do deep research on the topic and understand how things really work here.
And it’s a bit complicated. There are many factors besides temperature that play a role in egg pasteurization.
Let’s start with the most obvious one: heating time. Not only is temperature important, but also how long an egg stays at that temperature. The higher the temperature, the shorter the time needed to eliminate pathogens, and vice versa.
It also depends on whether you are pasteurizing whole eggs, egg whites, or egg yolks separately. Egg yolks and whites contain different proteins with different coagulation temperatures: egg whites are more sensitive to heat than yolks. Egg whites are mainly water and protein, but yolks contain fat, which shields bacteria from heat, making them harder to kill. Therefore, the pasteurization time for egg yolks is longer, and the temperature is higher.
Additives, such as sugar, also affect the process. In this case, it’s good news because sugar makes egg proteins more resistant to heat. This allows them to reach higher temperatures without coagulating.
The pH level is also important: the lower the pH, the more difficult it is to eliminate Salmonella. The pH level of egg whites changes with storage time: fresh egg whites have a lower pH, which rises over time, making them more alkaline. Does that mean you have to check the pH level of your eggs before pasteurizing them? Fortunately, after extensive research and practice, I developed a simple home pasteurization method that eliminates the need for that; you’ll only need a timer and thermometer.
Egg pasteurization method
My egg pasteurization method is based on the following:
- Official guidelines for egg pasteurization in the EU and the USA.
- The general rule: ”Pasteurize at the higher temperature and longer holding time without compromising the properties of the product” (e.g., not scrambling the eggs).
- A lot of practice, which helped me to ensure that, under certain circumstances, the eggs remain liquid and usable (e.g., the egg whites hold their shape after beating).
The USDA (United States Department of Agriculture) provides egg pasteurization recommendations with exact temperatures and holding times (in three huge tables!), while the EU only requires a certain level of bacteria reduction. Unfortunately, I don’t have a lab to check exact Salmonella numbers, so I based my temperatures and times on information provided by the USDA and a few EU manufacturers.
Keeping in mind that home pasteurization is not perfectly precise, I chose times and temperatures that are on the safer side, meaning the temperatures are higher and the holding times are longer. And I assume that eggs are always at a lower pH, meaning that Salmonella is more resistant.
I’m a dessert recipe developer, so no surprise that my method is best for sugared eggs. It also works with plain eggs and egg yolks, but does not so well with plain egg whites. Their pasteurization temperature range is narrow and difficult to maintain, and they tend to froth when mixed, which changes the distribution of temperature. That’s why they’re not included in the table below, and I don’t recommend pasteurizing plain egg whites using this method.
The method
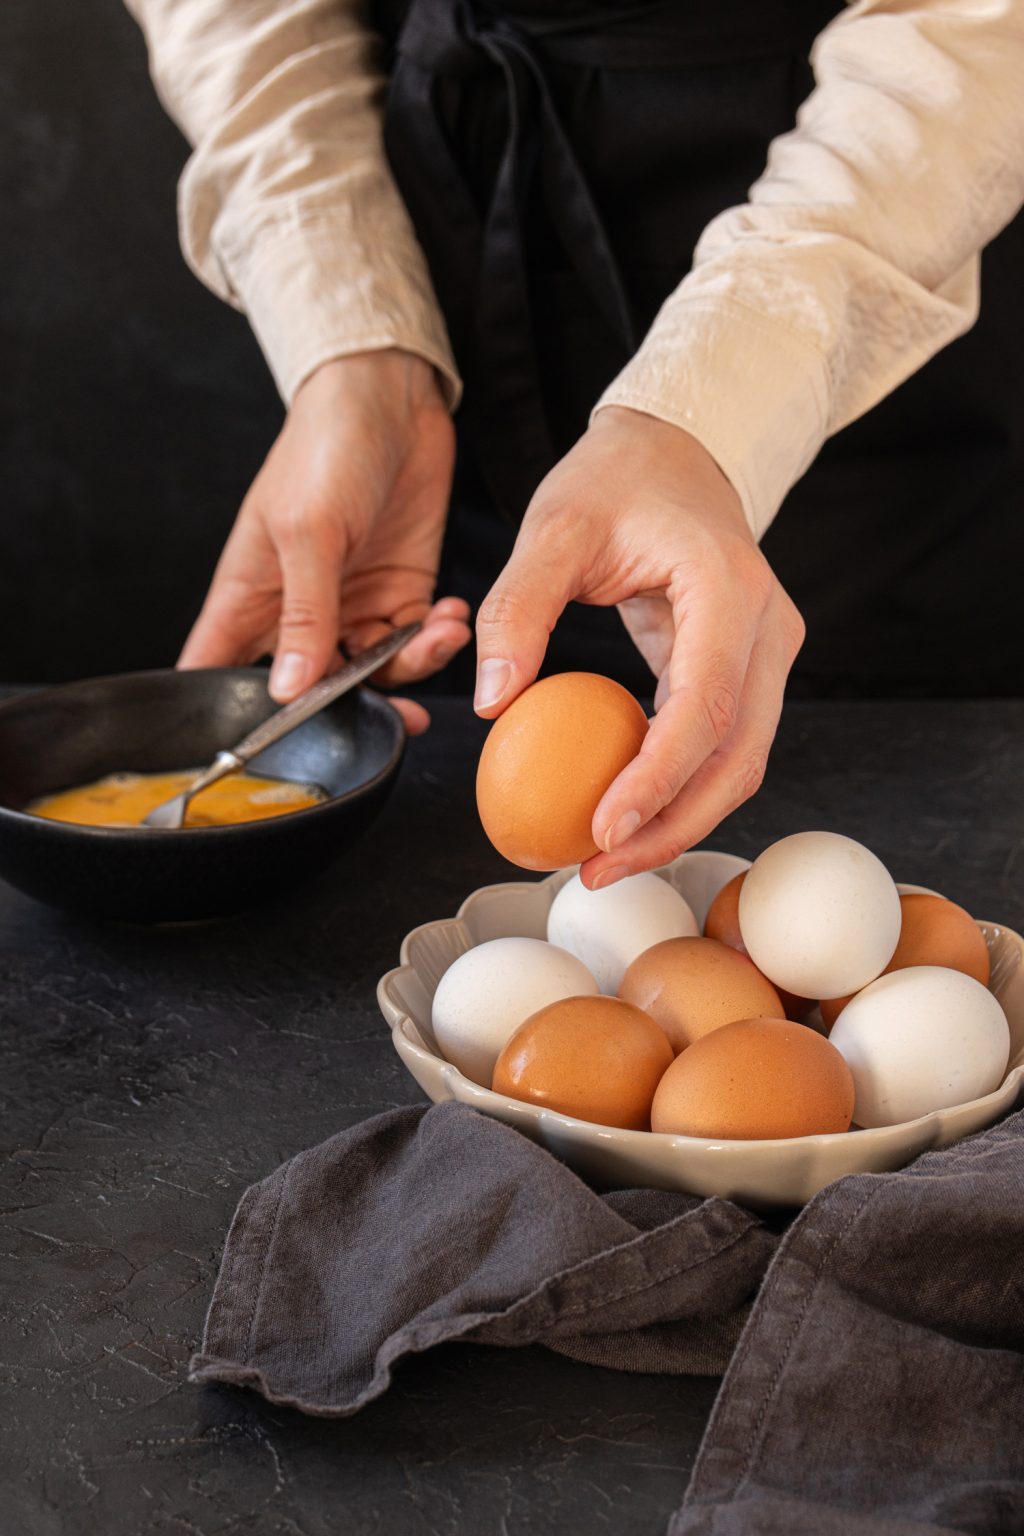
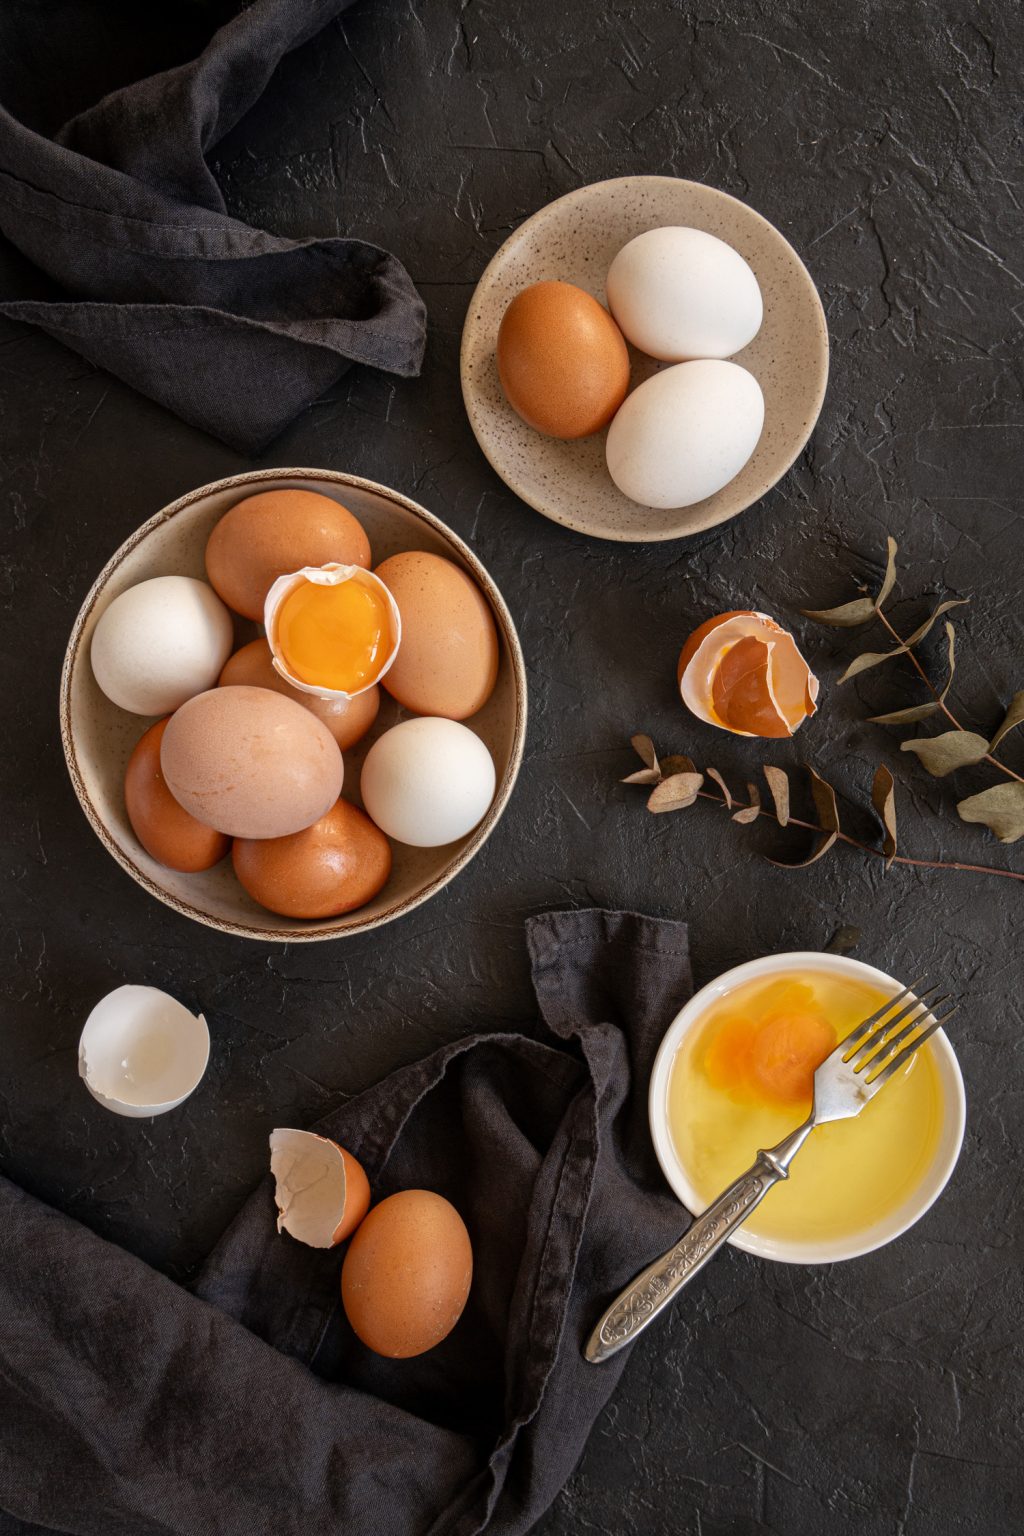
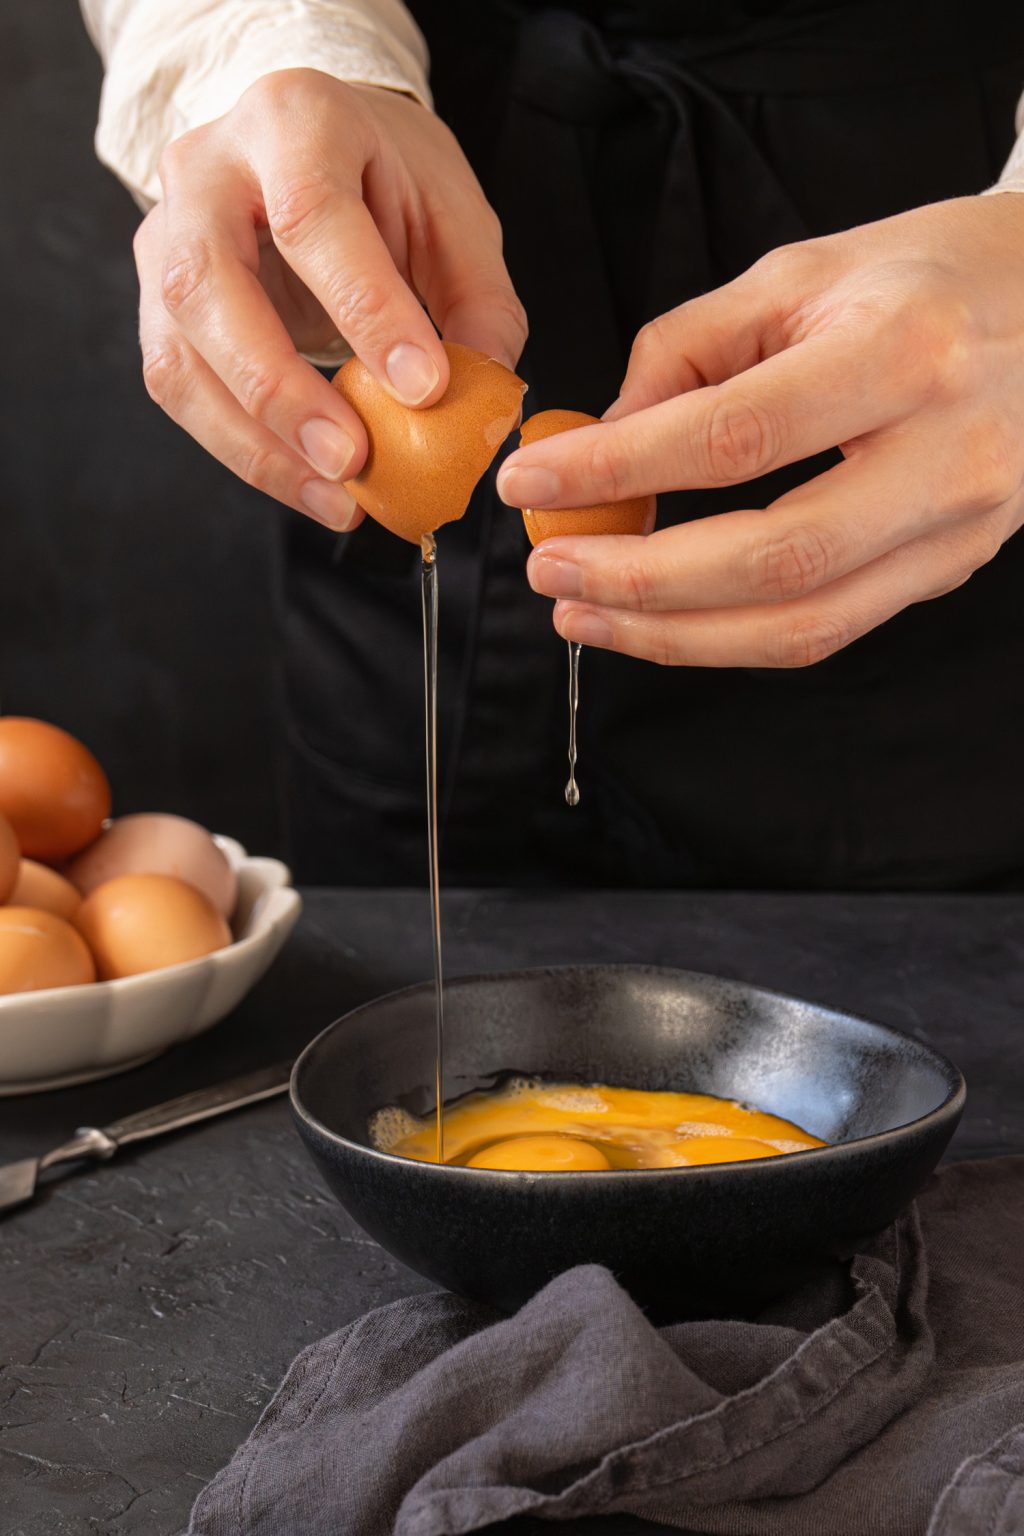
An important note: we are pasteurizing liquid eggs. Depending on what you need for the recipe, it can be whole eggs, separated yolks, or separated whites. If using whole eggs, lightly whisk them before pasteurizing to mix the egg whites with the yolks.
1.
In a mixing bowl, combine eggs (whole, only yolks, or only whites) with sugar (amount required for the recipe). Mix until combined. If you are pasteurizing egg whites for meringue, do not add acid (such as lemon juice or cream of tartar) at this point. This will lower the pH and make the Salmonella more resistant.
2.
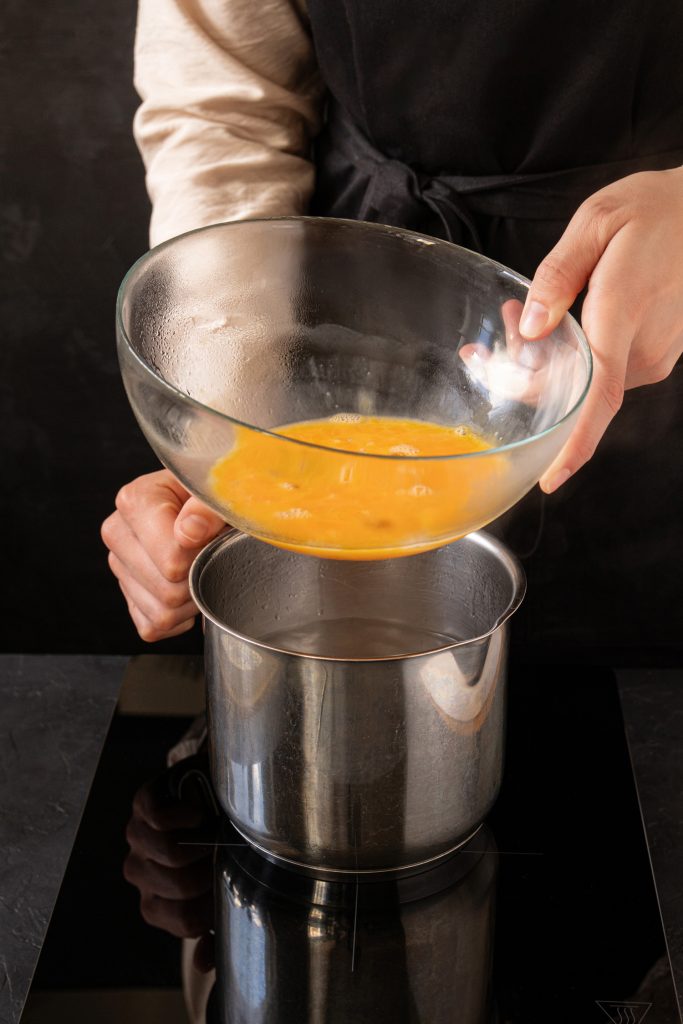
Bring some water to a boil in a saucepan, then reduce the heat to maintain a simmer.
3.
Place the bowl on top of the saucepan with simmering water, making sure the bottom of the bowl does not touch the water. Insert the thermometer probe into the egg mixture.
4.
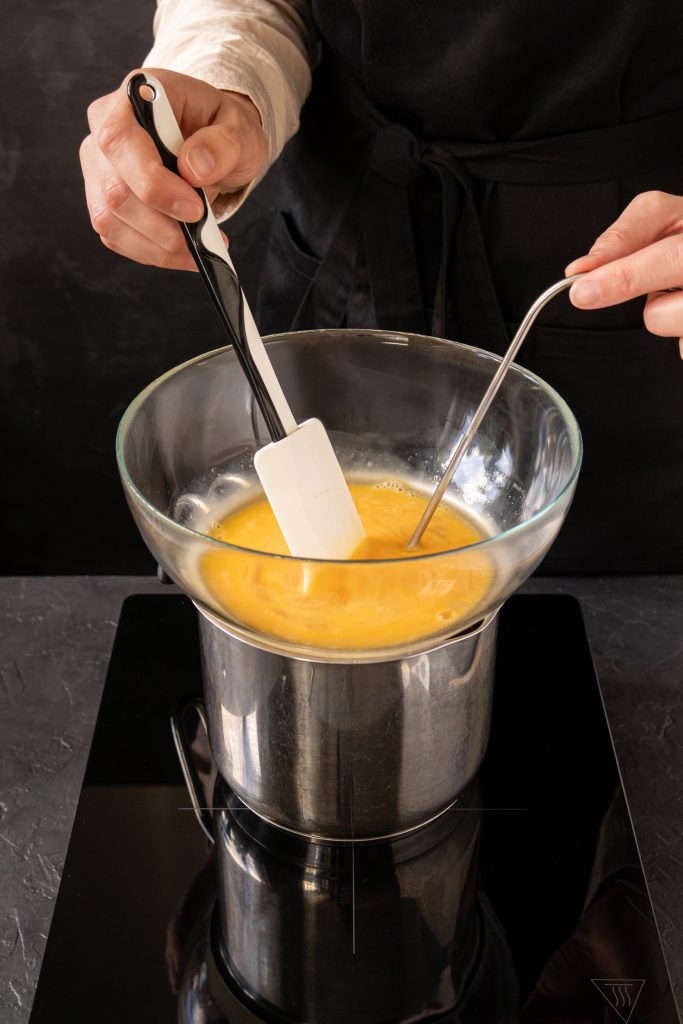
Heat the mixture, stirring constantly with a silicone spatula or spoon to ensure even heating of the eggs. Do not whisk. If you are pasteurizing egg whites with a smaller amount of sugar, be especially careful, as they will froth more easily.
5.
When the temperature reaches the lower target temperature, start the timer. Maintain the temperature above the lower target temperature for the specified time (see the table below for exact temperatures and times). Make sure the temperature does not exceed the higher target temperature. If it approaches the higher target temperature before the time is up, remove the eggs from the heat and continue to mix them. The temperature will start to drop slowly. However, if it gets close to the lower target temperature before the time is up, return the bowl of eggs to the heat.
6.
Once the time is up, the eggs are pasteurized. In some cases, you can use them immediately for the recipe (e.g., whip the meringue); in others, you will have to cool them to room temperature so that they don’t melt the other ingredients.
Temperatures and times
Product
Target temp.
range (°C)
Target temp.
range (°F)
Time (min)
Sugared eggs
Egg Yolk + 10% or more sugar
62-70
144-158
5
Egg White + 50% or more sugar
60-70
140-158
2
Egg White + 20-50% sugar
60-64
140-147
2
Whole Egg + 10% or more sugar
62-70
144-158
2
Plain eggs
Egg Yolk
62-67
144-158
9
Whole Egg
62-67
144-158
5
The lower temperature in the range is the temperature at or above which eggs must be kept for a specified amount of time in order to be pasteurized. The higher temperature indicates the maximum temperature eggs can reach without coagulating, though reaching that temperature is not required.
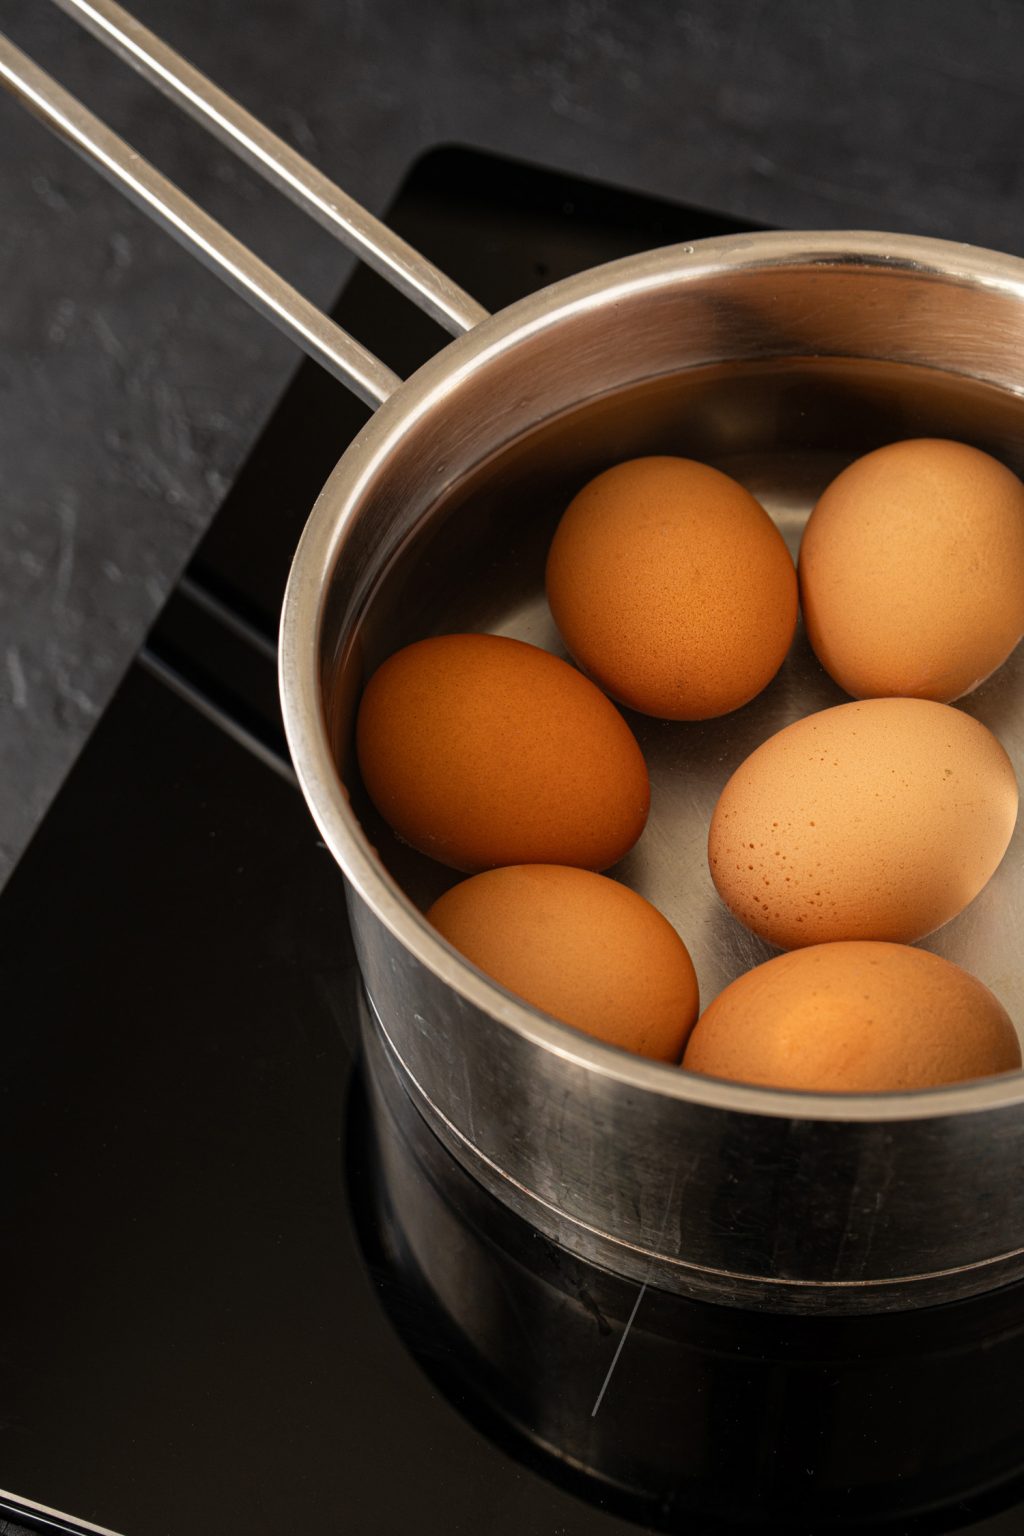
Can you pasteurize whole in-shell eggs at home?
Many people recommend pasteurizing whole, in-shell eggs at home. The process usually involves submerging the eggs in water at 60°C / 140°F and keeping them there for 3.5 minutes. Sounds simple, right? But wait a minute. Shouldn’t we measure the temperature of the eggs instead of the water? The whole egg is only pasteurized when the center of the yolk reaches a specific temperature and is kept at that temperature for a certain amount of time. But how can you measure the inner temperature of an intact egg? As you might have guessed, there’s no way to do that. So, how can you be sure that 3,5 minutes is enough to pasteurize eggs?
I found a scientific analysis that studied shell egg pasteurization using computational fluid dynamics. According to the analysis, the required heating time at 60°C / 140°F for a large egg weighing 63–72 g is 24,5 minutes. That’s much longer than 3,5 minutes! And to maintain an even temperature with home equipment for such a long time is very difficult. You could do it only if you have a sous vide. So, in my opinion, pasteurizing liquid eggs in a home kitchen is much easier and more reliable.
Sources:
- Guide to good manufacturing practice for “liquid, concentrated, frozen and dried egg products” used as food ingredients (non-ready to eat egg products)
- FSIS Food Safety Guideline for Egg Products
- Know all about pasteurization
- A review on egg pasteurization and disinfection: Traditional and novel processing technologies
- Pasteurisation of liquid whole egg: Optimal heat treatments in relation to its functional, nutritional and allergenic properties
- Analysis of Shell Egg Pasteurization Using Computational Fluid Dynamics